
Easter Puff Corn Treat
Introduction
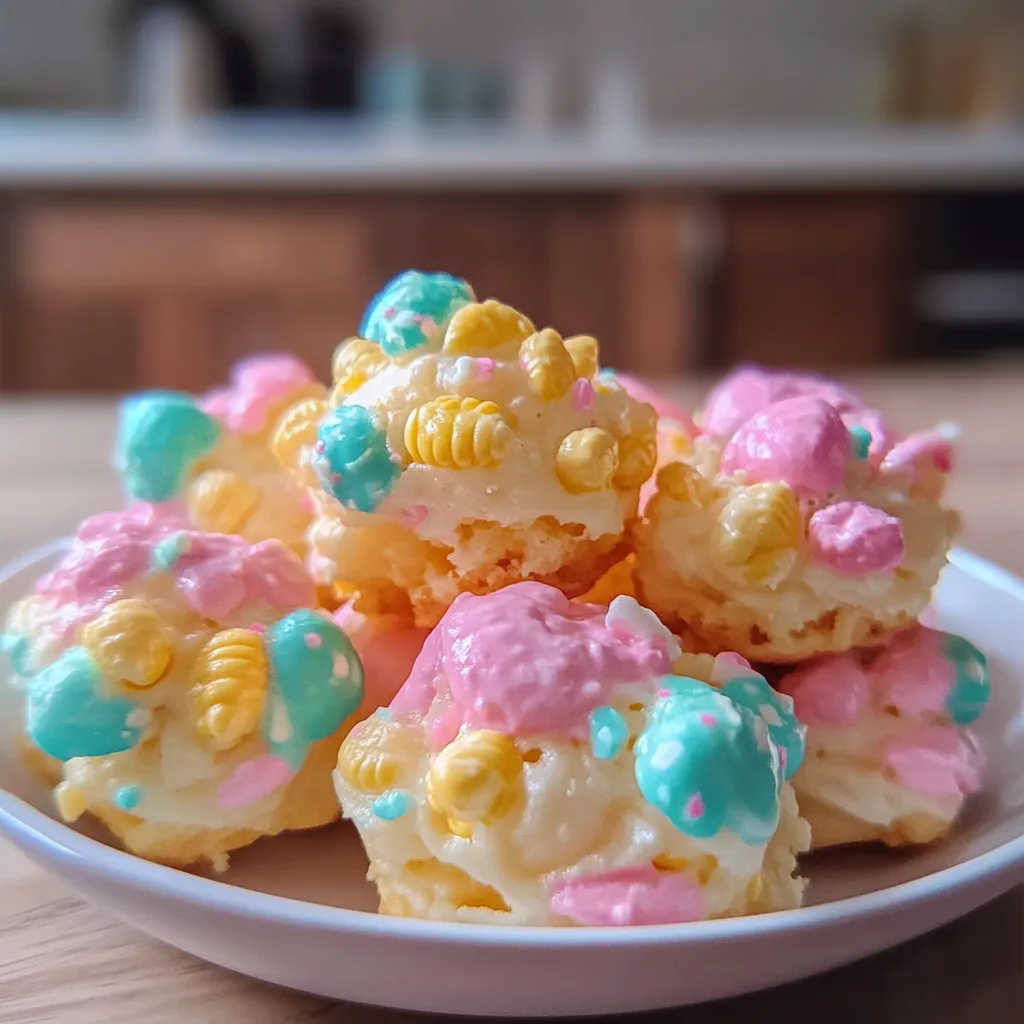
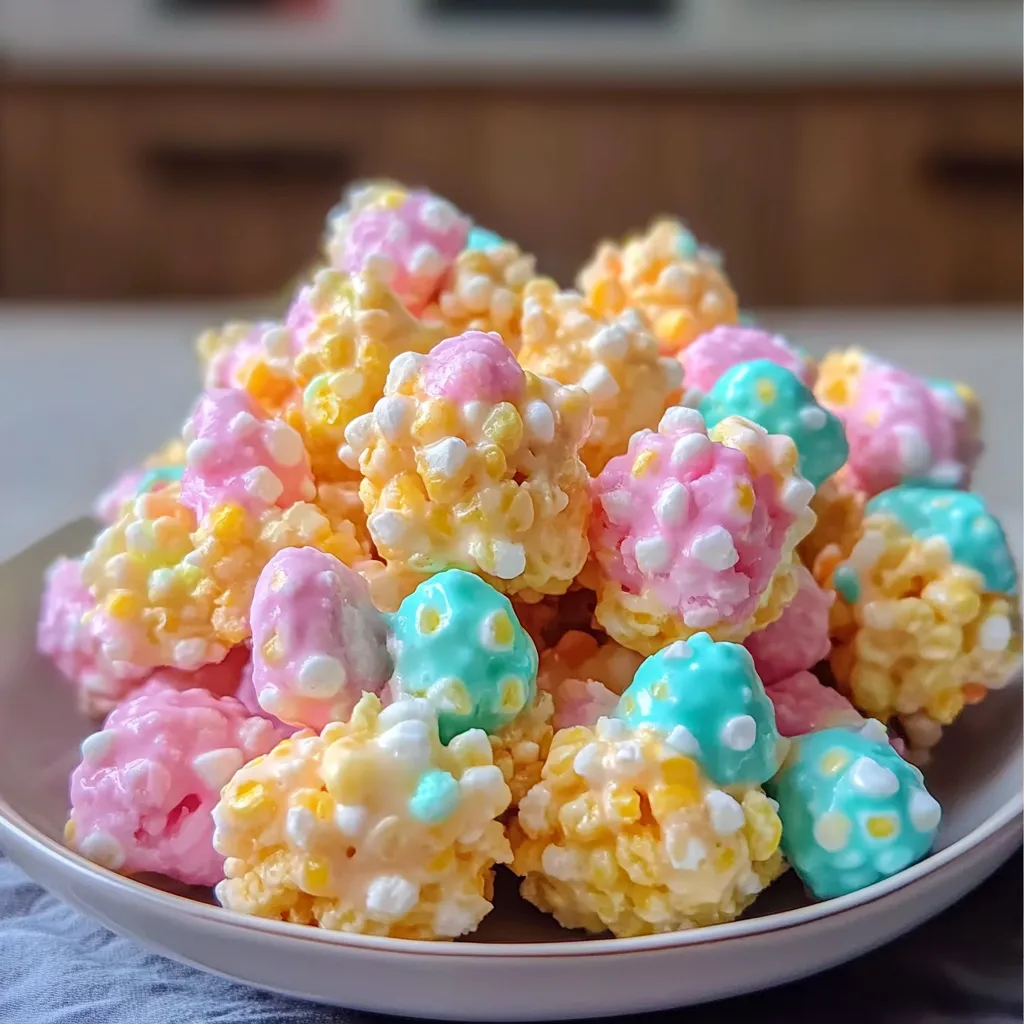
As the flowers begin to bloom and the world shakes off winter’s chill, there’s a certain magic in the air that brings memories of frolicking Easter egg hunts and joyful family gatherings. One of my favorite traditions during this season has always been whipping up tasty treats that feel like a cozy hug. Today, I’m absolutely thrilled to share a recipe that embodies all of that goodness: the Easter Puff Corn Treat! This delightful, sweet, and crunchy snack has become a staple in my home during the spring celebrations.
What I love about these treats is their playful nature — they’re easy to make, elegant enough to impress your (hopefully) soon-to-be guests, and irresistibly addictive. With a combination of puff corn, pastel melting chocolates, and festive sprinkles, they not only taste divine but also look like a celebration on a platter! Let’s dive in and bring some sweet joy to your Easter festivities with this fun and fabulous recipe!
Why You’ll Love This Recipe
- Quick to whip up, perfect for last-minute desserts!
- Kid-friendly and super fun to make as a family activity.
- Appealing texture with a perfect crunch!
- Customizable! Easily swap in your favorite mix-ins or colors.
- The perfect treat for both Easter and any spring gathering.
Ingredients
Here’s what you’ll need to create your very own Easter Puff Corn Treats:
- 10 cups of puff corn (you can find this at most grocery stores, often called “corn puffs”)
- 1 cup of unsalted butter (melted)
- 1 cup of light corn syrup
- 1 cup of granulated sugar
- 1 teaspoon of vanilla extract (use pure for a real flavor boost)
- 2 cups of pastel melting chocolates (e.g., pink, blue, purple)
- 1 cup of Easter-themed sprinkles or confetti
- Parchment paper for lining your baking sheets
Pro tip: Make sure to use puff corn and not regular popcorn for that perfect crunch and sweetness!
Step-by-Step Instructions
Now let’s gather our ingredients and get started on creating this festive treat! Follow along, and I promise you’ll have an irresistible crunchy munchie in no time.
- Prep Your Space: First things first, preheat your oven to 250°F (120°C). Line a large baking sheet with parchment paper to prevent sticking. Don’t skip this step — you’ll thank yourself later!
- Mix the Sweet Sauce: In a medium saucepan over medium heat, combine the melted butter, corn syrup, and sugar. Stir continuously until the mixture begins to boil, then let it bubble for about 2-3 minutes without stirring. You want it to thicken a bit, so resist the urge to nibble on it — just a little longer!
- Add Some Flavor: Remove the saucepan from heat and stir in that lovely vanilla extract. Oh, the warm aroma is just delightful, isn’t it?
- Combine with Puff Corn: Pour the glossy mixture over your puff corn in a large mixing bowl. Use a spatula to gently fold everything together, ensuring that every puff is coated evenly. Be gentle — you don’t want to crush those fluffy puffs!
- Transfer to the Baking Sheet: Spread the coated puff corn out evenly onto the prepared baking sheet. It’s okay if they’re a bit clustered, but try to keep it relatively spread out for even baking.
- Bake It Up: Pop the baking sheet into your preheated oven and bake for about 45 minutes, stirring every 15 minutes. This step is key! It helps to further crisp up that wonderful texture.
- Cool Time: Once done baking, remove it from the oven and let it cool completely on the sheet. Your kitchen will smell like a springtime wonderland!
- Chocolate Coating: While your puff corn cools, melt those pastel chocolates. You can do this in the microwave in short bursts (about 20 seconds at a time), stirring in between. Make sure not to overheat — the chocolate should be smooth and dreamy.
- Combine for the Fun Factor: Drizzle the melted chocolates over your cooled puff corn. Use a fork to help create pretty designs or just go wild with it! Then, finish it with a generous sprinkle of colored confetti sprinkles while the chocolate is still soft. It’s like a sprinkle party on your puff corn!
- Let It Set: Allow the chocolate to firm up a bit before breaking your puff corn mixture into pieces. You can even pop it in the fridge for a quicker set!
Pro Tips & Variations
Now that we have our basic version, let’s talk about some playful variations and pro tips to elevate your Easter Puff Corn Treats:
- Flavor Variations: Try swapping out the vanilla extract with almond or coconut extract for a fun twist.
- Mix-Ins: Want to take these snacks up a notch? Toss in some mini marshmallows, pastel M&Ms, or even crushed candies for an extra layer of fun and surprise!
- Presentation: Package them in cute Easter-themed bags or jars for a lovely gift; they make perfect little goodies to share with loved ones.
- Diet Swaps: For a vegan twist, use coconut oil instead of butter, and choose dairy-free chocolate melts.
Serving Suggestions
These delightful Easter Puff Corn Treats are not only a fantastic snack on their own, but they can also spark joy in various settings. Imagine serving them in bright bowls at a blooming garden party or placing them on a sweet table at your Easter brunch. Perhaps enjoy them at a cozy movie night, paired with a warm cup of herbal tea or a refreshing lemonade!
From kids diving into them as they search for Easter eggs, to adults sneaking a few in the afternoon for a sweet boost, these treats have that magical versatility. Whatever the occasion, these puffed goodies bring an element of cheer and a sweet crunch that will have everyone coming back for more!
Storage Tips
Once you’ve enjoyed your delightful festive treats, you might be wondering about the best way to store them. Here’s how to keep them fresh and flavorful:
- Room Temperature: Store your Easter Puff Corn Treats in an airtight container at room temperature. They should stay crunchy for up to a week.
- Refrigeration: While it’s not necessary, if you live in a warm climate, it can help to keep them in the fridge. Just make sure they are sealed properly to avoid moisture.
- Freezing: You can freeze these treats, but keep in mind that the texture may soften a bit. Use parchment paper to separate layers of treats and place them in a freezer-safe container. They’ll last up to a month!
- Reheating: If you want to refresh your treats, spread them out on a baking sheet and pop them in the oven at low heat for a few minutes.
FAQs
Can I use regular popcorn instead of puff corn?
Unfortunately, regular popcorn might not yield the same texture as puff corn. Puff corn is lighter and doesn’t have those pesky kernels! Stick with puff corn for the best results.
Can I make these in advance?
Absolutely! You can definitely prepare these a day or two in advance and store them in an airtight container. Just make sure they are completely cooled before sealing.
Are these treats gluten-free?
Yes! As long as you ensure your puff corn and chocolates are certified gluten-free, these can be enjoyed by those with gluten sensitivities.
Can I customize the colors of the chocolates?
For sure! Feel free to choose any colors that suit your occasion. It adds a personal touch and makes the treats even more exciting!
Conclusion
So there you have it! A delightful, easy, and utterly fun recipe for Easter Puff Corn Treats that evokes the essence of spring and the joy of celebration. I hope you’ll give this recipe a try, and I’d love to hear how your treats turn out! Share your baking adventures in the comments below – perhaps you discovered a fun variation or a story that made the kitchen come alive. Happy Easter baking and enjoy every crunchy bite!


Leave a Comment