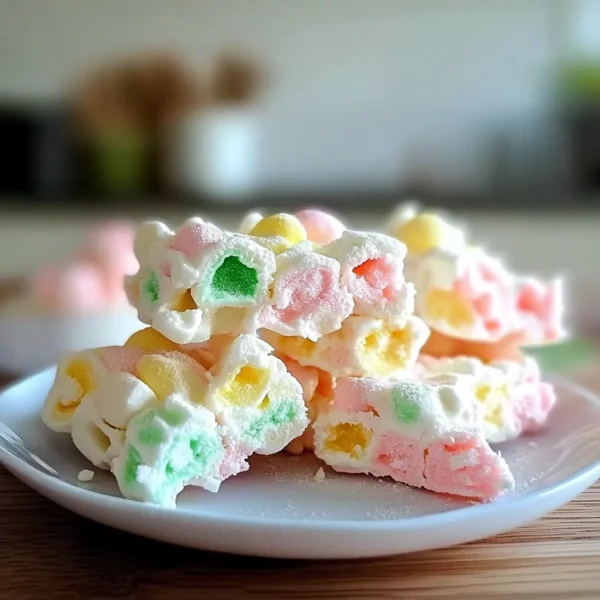
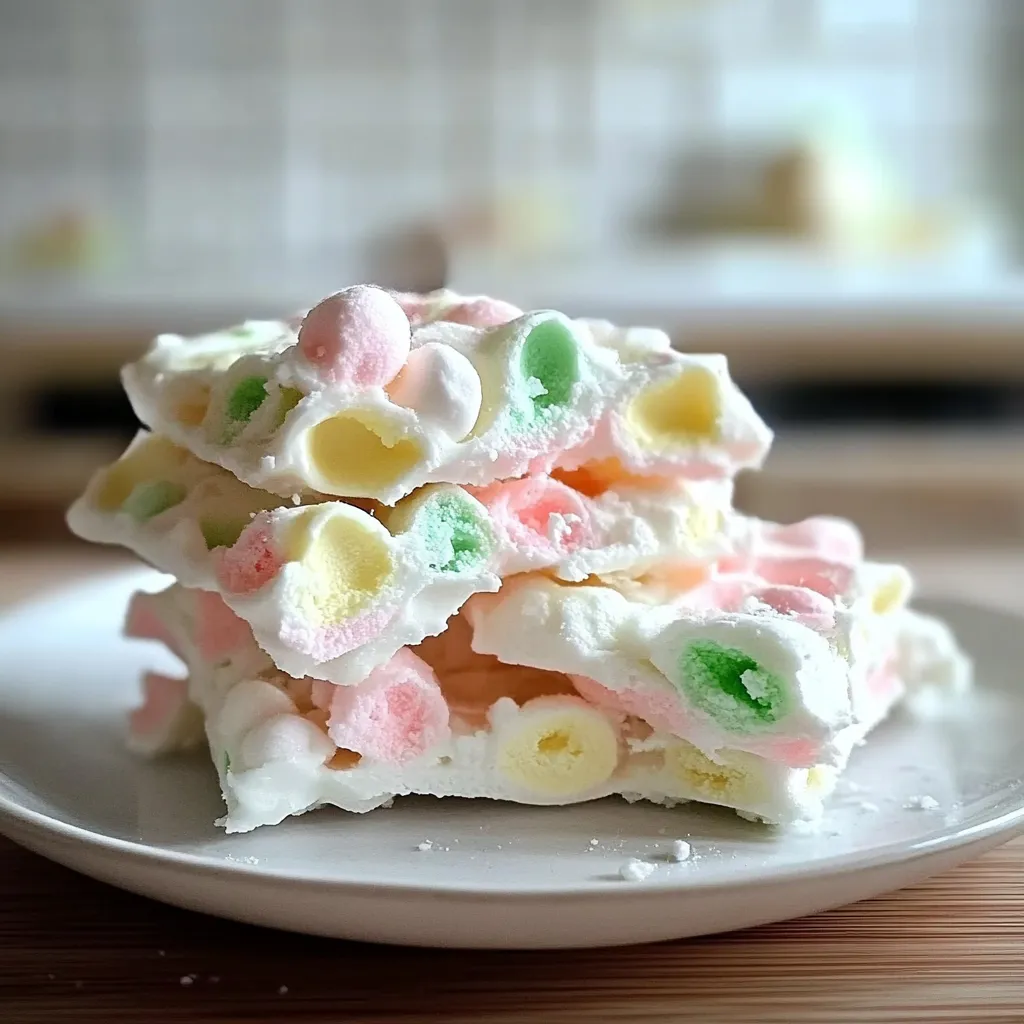
Easy Easter Marshmallow Bark
Introduction
Ah, Easter! The time when the world bursts into color, flowers bloom, and, let’s be honest, chocolate seemingly grows on trees! Every year, my family gathers around tables filled with delicious treats, laughing and reminiscing about childhood memories. I remember my grandmother’s kitchen, where the aroma of freshly baked goodies blended with the crisp spring air. One of the showstoppers always was her Marshmallow Bark, a delightful mix of sweet, chewy marshmallows and luscious chocolate. Today, I want to share that joy with you through my version of this Easy Easter Marshmallow Bark. It’s like a sweet little hug that brings everyone together, perfect for gift-giving or simply indulging while you sip on your favorite coffee.
Why You’ll Love This Recipe
- Super Easy: This bark comes together in minutes! Seriously, even if you’re not a whiz in the kitchen, you can nail this.
- Customizable: Swap in your favorite candies or nuts—make it uniquely yours!
- Festive and Fun: It’s a colorful and vibrant addition to your Easter celebrations.
- Kid-Friendly: A great way to get the kids involved in the kitchen, letting them sprinkle on their favorite toppings!
- No Baking Required: Just melting and mixing—no oven, no fuss!
Ingredients
Gathering all your ingredients is half the fun! Here’s what you’ll need:
- 12 oz. of semisweet chocolate chips (or milk chocolate for a sweeter bite)
- 4 cups of mini marshmallows (the fluffier, the better!)
- 1 cup of colorful Easter candies (think M&Ms, jelly beans, or your favorite chocolate eggs)
- ½ cup of chopped nuts (optional—almonds or pecans add a lovely crunch)
- 1 tsp of vanilla extract (because a splash always brings more flavor)
Note: If you’re feeling adventurous, consider adding a pinch of sea salt to balance the sweetness!
Step-by-Step Instructions
Ready to create something magical? Let’s dive right in!
- Melt the Chocolate: In a microwave-safe bowl, combine the semisweet chocolate chips with a splash of vanilla extract. Microwave in 30-second intervals, stirring in between until completely melted and smooth. Be careful not to overheat—it’s like chocolate magic; too much heat can spoil the spell!
- Add the Marshmallows: Once your chocolate is velvety, gently fold in the mini marshmallows. This is the fun part! You’ll want to coat them evenly with that luscious chocolate. Don’t stir aggressively or the marshmallows might break apart.
- Mix in the Candy and Nuts: Now’s the time to toss in your colorful Easter candies and nuts. This is where you can really get creative. Picture it: a rainbow of colors ready to delight!
- Spread and Set: Line a baking sheet with parchment paper. Pour the chocolate-marshmallow mixture onto the sheet and spread it out with a spatula to your desired thickness. I personally love it about half an inch thick—it strikes the perfect balance between crunch and chew!
- Chill: Pop that beauty into the fridge for about an hour, or until it’s fully set. Make sure you resist the urge to check too often—it’s hard to wait when something so delightful is brewing!
- Slice and Serve: Once set, take it out and let it sit at room temperature for a few minutes. This makes slicing easier. Cut it into squares or break it up into pieces, and get ready for the compliments!
Tip: If you’re feeling fancy, drizzle some melted white chocolate over the top for an extra layer of sweetness and visual appeal. Yum!
Pro Tips & Variations
Let’s talk about ways you can sprinkle your own flavor into this delightful treat!
- Flavor Variations: Want a twist? Try using dark chocolate or white chocolate instead of semisweet. You can also incorporate flavored extracts like peppermint or almond for a unique flair.
- Themed Toppings: Use seasonal sprinkles to add that holiday vibe! Think pastel colors for Easter or festive jimmies for birthdays or celebrations.
- Diet Swaps: For a healthier version, consider dark chocolate and swap regular candies for dried fruits or seeds.
- Make It a Gift: Package your bark in simple cellophane bags tied with a ribbon for a sweet, homey gift.
Serving Suggestions
This Easy Easter Marshmallow Bark is as versatile as it is delicious! Serve it alongside a steaming cup of coffee or hot cocoa for those chilly spring mornings. It also makes a perfect dessert after a hearty Easter dinner, when everyone’s gathered around the table, sharing stories. If you have little ones around, set up a ‘bark bar’ with fun mix-ins—their eyes will light up at the chance to create their own masterpiece!
Pair it with fresh fruits, such as strawberries or raspberries, to balance out the sweetness and add a touch of freshness to the indulgence!

Storage Tips
Now, let’s make sure you can savor your marshmallow bark for days to come:
- Room Temperature: Store your cooled and sliced bark in an airtight container at room temperature for up to a week. Just ensure it’s in a cool, dry place away from sunlight.
- Refrigerator: If you have a warm and humid kitchen, keep it in the fridge. It’ll last about two weeks this way, but let it sit out for a bit to soften before biting into it.
- Freezing: You can freeze it too! Wrap individual pieces tightly in plastic wrap, then place them in a resealable bag. When you’re ready, let them thaw at room temperature or gently warmed up—still delicious!
FAQs
Can I use different types of chocolate?
Absolutely! Dark chocolate, white chocolate, and even flavored chocolates like caramel or mint can add a delightful twist to your bark. Just keep an eye on the melting times, as they can vary.
How can I add more flavors?
You can incorporate flavored extracts, like peppermint or almond, to enhance the taste. For a crunchier texture, crunchy peanut butter or praline can be mixed in.
Can I make this bark ahead of time?
Yes! This bark keeps well in an airtight container, so making it a few days before your event is totally doable. In fact, it may even taste better after sitting, as the flavors meld together!
What if I don’t have parchment paper?
No worries! You can use wax paper or just lightly grease a baking dish with some cooking spray. The goal is to prevent sticking so that gorgeous bark comes out easily!
Conclusion
There you have it! My cherished Easy Easter Marshmallow Bark recipe, ready to bring joy and sweetness to your holiday celebrations. I hope you make this treat and create lovely memories as you nibble on each delightful piece. If you try it out, I’d love to hear how it turned out—leave a comment or share your favorite add-ins. Let’s spread the sweetness together this Easter!


Leave a Comment