There’s something simply magical about autumn. The air gets crisp, leaves start to paint the sidewalks in hues of amber and crimson, and the kitchens across the land burst with the warm, cozy scents of baking spices. For me, nothing signals the arrival of fall quite like the smell of a freshly baked pumpkin pie wafting through the house. I grew up eagerly anticipating Thanksgiving feasts, not just for the turkey and stuffing (though those are definitely not to be overlooked), but for the grand finale: that luscious, spiced slice of pumpkin pie.
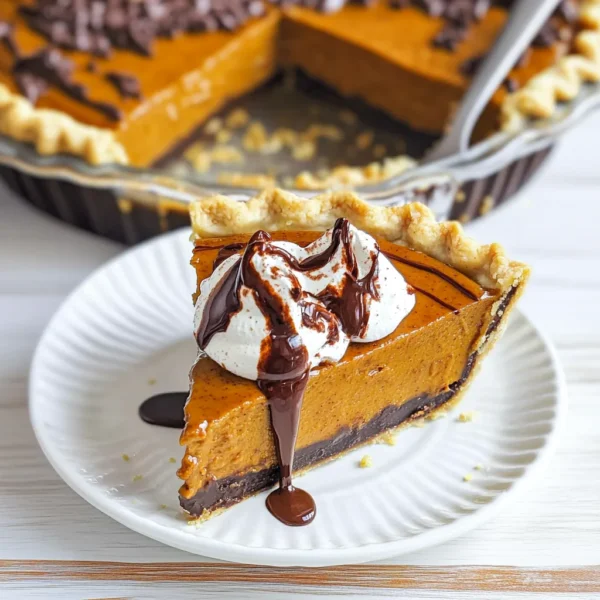
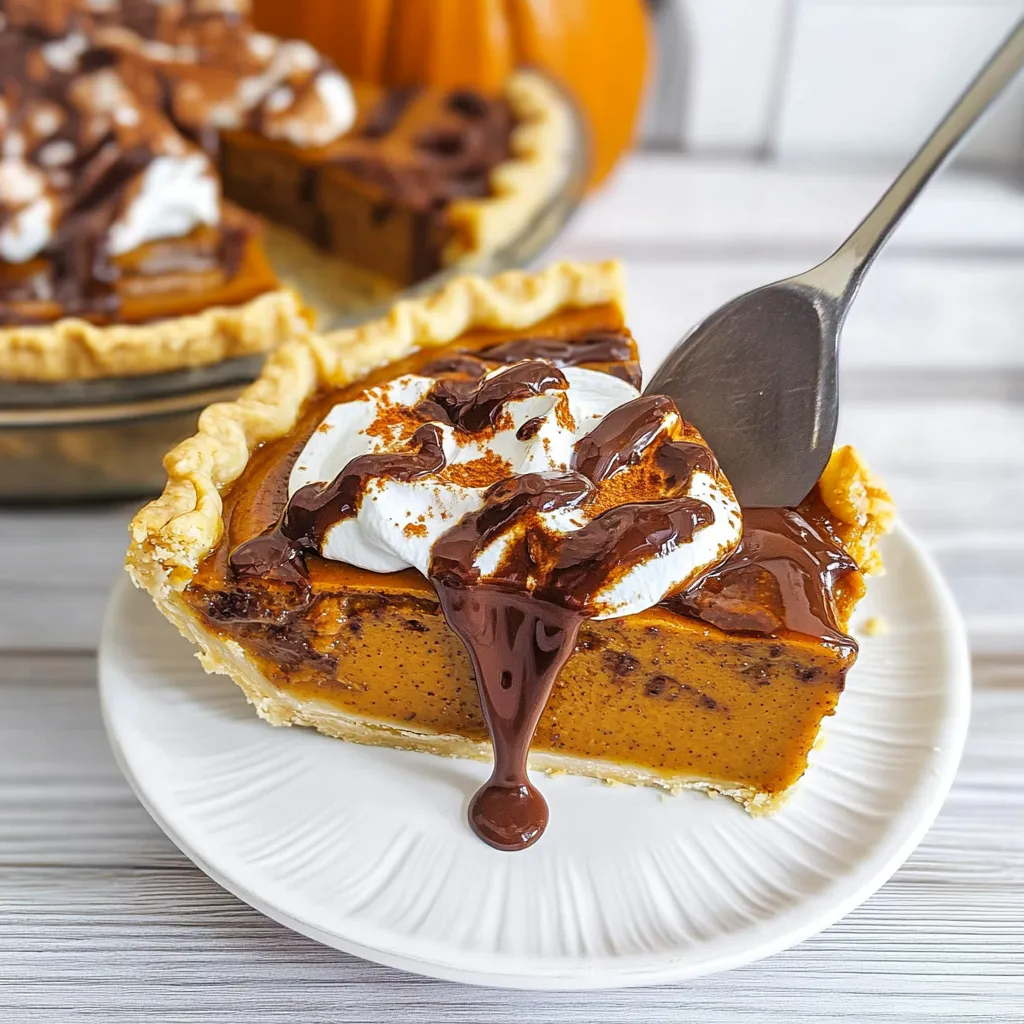
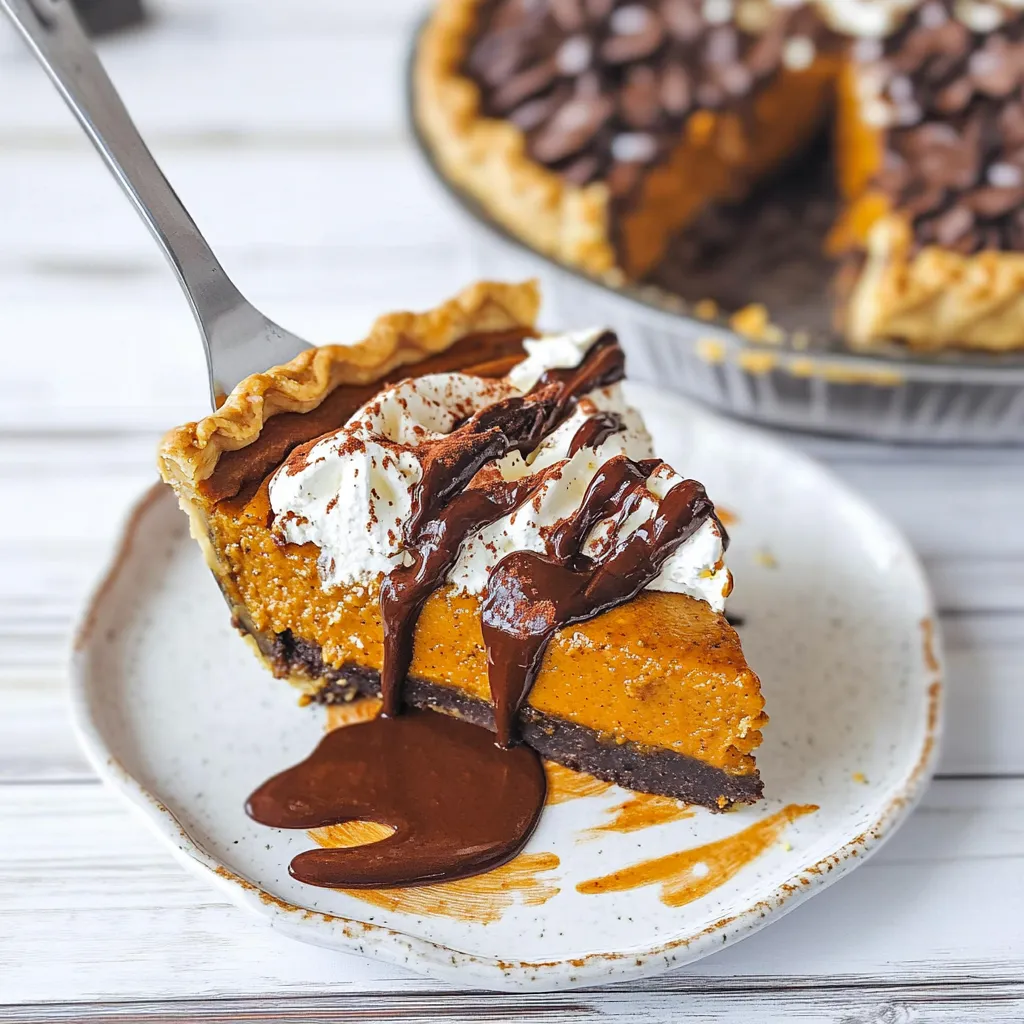
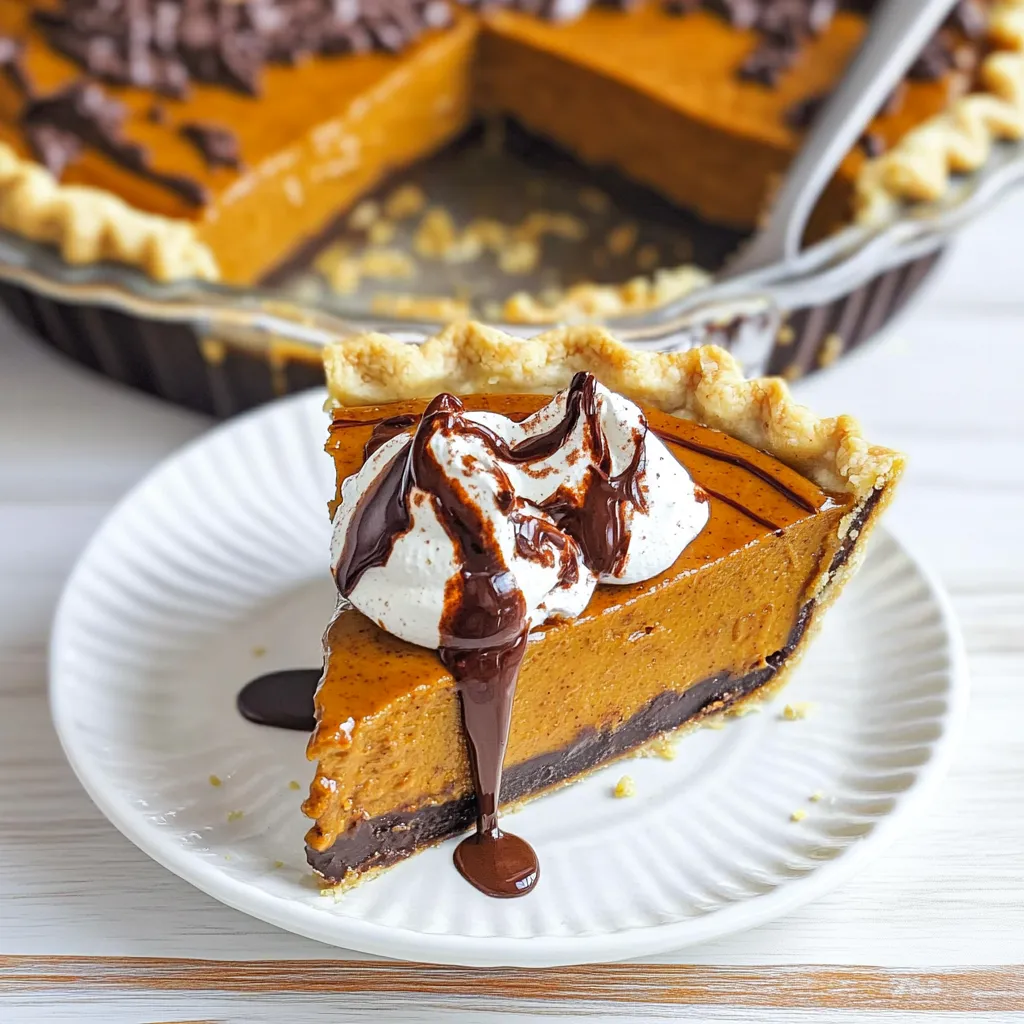
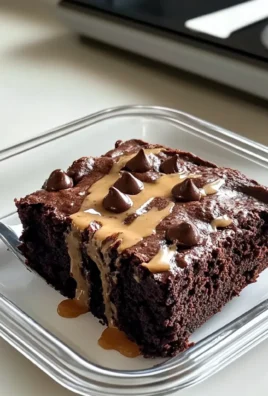
But wait! Let’s sprinkle a little bit of excitement into this classic dish. Enter, stage left: Chocolate Pumpkin Pie, a playful makeover that combines the comforting flavors of pumpkin pie with the rich decadence of chocolate. Yes, my friends, this is the dessert of your dreams—and it’s perfect for both your Thanksgiving table and an everyday indulgence! Are you ready to delight your taste buds and give a modern twist to a beloved classic? Let’s get baking!
Why You’ll Love This Recipe
- Easy to follow and perfect for all skill levels—ideal for beginner bakers!
- Combines cozy fall flavors with the indulgence of chocolate.
- It’s a crowd-pleaser that’s bound to impress guests and family alike.
- Perfect make-ahead dessert that saves you time on busy holiday days.
Ingredients
Here’s what you’ll need to whip up this delightful Chocolate Pumpkin Pie:
- 1 package (9 inches) pie crust (store-bought or homemade)
- 1 cup pumpkin puree (not the spiced pumpkin pie filling)
- 1/2 cup semi-sweet chocolate chips
- 3/4 cup granulated sugar
- 1/2 cup packed brown sugar
- 1 teaspoon ground cinnamon
- 1/2 teaspoon ground ginger
- 1/4 teaspoon ground nutmeg
- 1/4 teaspoon ground cloves
- 1/4 teaspoon salt
- 3 large eggs
- 1 can (12 oz) evaporated milk
Note: If you’re feeling adventurous, try using dark chocolate chips for an even richer flavor or a dairy-free option if you have dietary preferences. And of course, using fresh pumpkin puree can add an extra layer of heartiness!
Step-by-Step Instructions
Time to roll up your sleeves and get started! Here’s how to make this chocolatey pumpkin delight:
- Preheat the oven: Start by preheating your oven to 425°F (220°C). This perfectly sets the stage for those wonderful caramelizing flavors.
- Prepare your crust: If you’re using a homemade crust, roll it out to fit your pie plate and crimp the edges. For store-bought, follow the instructions on the package and place it in your pie plate.
- Melt the chocolate: In a microwave-safe bowl, melt the semi-sweet chocolate chips in 30-second intervals, stirring after each, until smooth. Be careful not to burn the chocolate—you want it glossy and silky!
- Mix the pumpkin filling: In a large mixing bowl, combine the pumpkin puree, granulated sugar, brown sugar, cinnamon, ginger, nutmeg, cloves, salt, and the melted chocolate. Mix it until well combined.
- Add the eggs: Crack in the eggs one at a time, mixing well after each addition. Make sure everything is blended harmoniously.
- Pour in the evaporated milk: Gradually add the evaporated milk, mixing until the filling is smooth and creamy. You’ll want to take a moment to appreciate the lovely aroma wafting from your bowl!
- Pour the filling into the crust: Carefully pour the pumpkin-chocolate mixture into the prepared pie crust. Don’t worry if it looks a little lumpy; it’ll bake up beautifully!
- Bake it up: Place your pie in the preheated oven and bake for 15 minutes at 425°F, then lower the temperature to 350°F (175°C) and bake for an additional 40-50 minutes, or until the filling is set. The center should jiggle just slightly but shouldn’t be liquidy.
- Cool it down: Once baked, let the pie cool on a wire rack for at least 2 hours. This step helps it set and makes it easier to slice—trust me, it’s worth the wait!
Pro tip: If the crust edges start to brown too quickly, cover them with a strip of aluminum foil to prevent burning.
Pro Tips & Variations
Want to jazz it up even more? Here are a few fun ideas!
- Spice it up: For an extra zing, add a pinch of cayenne pepper or cardamom for a unique twist.
- Top it off: Whipped cream is a classic topping, but how about some chocolate shavings or crushed graham crackers for extra crunch? You could even add a sprinkle of flaky sea salt on top for that sweet-salty contrast.
- Make it a cheesecake: Add 8 oz of cream cheese to the mixture for a silky cream cheese layer.
- Omit the chocolate: Prefer the classic route? Just leave out the chocolate and enjoy a pure, spiced pumpkin pie!
Serving Suggestions
Ah, the moment of joy: slicing into your masterpiece! Serve this Chocolate Pumpkin Pie with a generous dollop of whipped cream—maybe even a drizzle of chocolate sauce for added flair. For that cozy, intimate vibe, how about pairing it alongside a steaming cup of spiced chai or a glass of sweet cider? If you want to keep the theme going, complement it with some buttery shortbread cookies or a scoop of vanilla ice cream. Cozy ambiance meets culinary bliss!
Storage Tips
Got leftovers (though I doubt it!)? This pie is great for storing:
- Refrigeration: Cover the pie with plastic wrap or aluminum foil to keep it fresh and store it in the refrigerator. It’ll last for about 3-4 days—if you can resist devouring it all sooner!
- Freezing: If you want to make it ahead of time, wrap the cooled pie tightly in plastic wrap and then aluminum foil. It can be frozen for up to a month. Thaw in the refrigerator overnight before serving.
- Reheating: If you prefer it warm, pop a slice in the microwave for about 20-30 seconds, or warm it in the oven at 350°F for about 10-15 minutes.
FAQs
Can I use fresh pumpkin instead of canned?
Absolutely! Just make sure to roast and puree your pumpkin to achieve that perfect texture. Use about 1 1/2 cups of fresh pumpkin puree to match the canned amount.
Can I make this pie gluten-free?
Yes! Just swap your regular pie crust for a gluten-free version, and you’ll still have a delightful dessert that everyone can enjoy!
How do I tell if my pie is done baking?
The pie is done when the edges look firm, and the center has a slight jiggle without being liquidy. A toothpick inserted in the center should come out mostly clean, indicating that it’s set.
What can I do with leftover pumpkin puree?
Great question! You can use it in smoothies, pancakes, or even mix it into oatmeal for a delicious breakfast treat. You can also freeze it in small portions for future baking projects.
Conclusion
And there you have it! A Chocolate Pumpkin Pie Just Got a Makeover that is sure to make your taste buds dance with joy. I hope you enjoy baking this sweet treat as much as I do. It’s not just a pie; it’s a celebration of fall flavors and cozy moments shared with loved ones. I’d love to hear how yours turns out, so be sure to drop a comment or share your own spin on this recipe. Happy baking, my friends!

Leave a Comment