
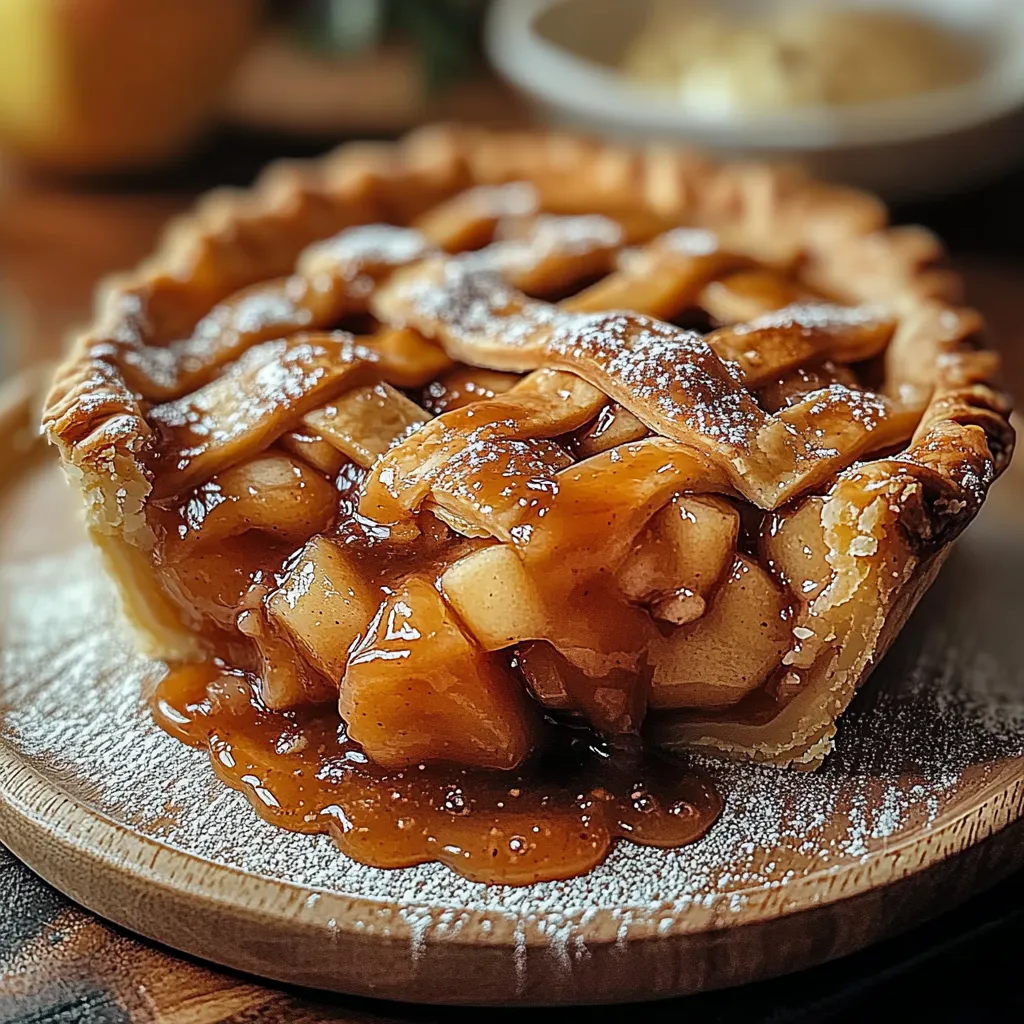
There’s something incredibly nostalgic about the scent of apple pie wafting through the house. It takes me back to my grandmother’s kitchen, where we’d spend rainy afternoons together, her flour-dusted apron on, teaching me the secrets of baking. The warmth of the oven, the bustling sound of her hands rolling dough, and the sweet, spiced aroma of apples baking—it felt like a hug for the soul. Today, I want to share with you my favorite Timeless Apple Pie Delight Recipe. This is a dish that not only fills your home with delightful scents but also warms your heart. Perfect for gatherings, holidays, or just a cozy evening at home, it’s a slice of comfort that never goes out of style.
Why You’ll Love This Recipe
- Simple and stress-free—perfect for bakers of all levels!
- Classic flavors with a homemade touch, making it feel extra special.
- Perfect for any season, especially fall when apples are at their peak.
- Freezer-friendly—bake now, enjoy later!
Ingredients
Gather these ingredients, and let’s get started on crafting something delicious!
- For the crust:
- 2 ½ cups all-purpose flour
- 1 cup unsalted butter, cold and cubed
- 1 teaspoon salt
- 1 tablespoon sugar
- 6-8 tablespoons ice water
- For the filling:
- 6 cups apples, peeled, cored, and sliced (Granny Smith or Honeycrisp work wonderfully)
- ¾ cup sugar (adjust based on apple sweetness)
- 2 tablespoons all-purpose flour
- 1 teaspoon ground cinnamon
- ¼ teaspoon ground nutmeg
- 1 tablespoon lemon juice
- 1 tablespoon butter, diced (for dotting)
Pro Tip: Freshly grated nutmeg can elevate the flavor to a whole new level!
Step-by-Step Instructions
- Make the Pie Crust:
In a large mixing bowl, combine the flour, salt, and sugar. Add the cold, cubed butter and use a pastry cutter or your fingers to work the butter into the flour until the mixture resembles coarse crumbs. The key is to handle it as little as possible—overworking will lead to a tough crust!
- Add Water:
Gradually add the ice water, one tablespoon at a time, mixing gently until the dough comes together. You want it to hold but not be sticky. Divide the dough in half, shape into discs, wrap in plastic, and chill in the fridge for at least an hour.
- Prepare the Filling:
While your dough chills, let’s make that heavenly apple filling! In a large bowl, toss the sliced apples with sugar, flour, cinnamon, nutmeg, and lemon juice, ensuring everything is well-coated. Set aside to let the flavors mingle.
- Roll Out the Dough:
Once chilled, take one dough disc out and roll it on a floured surface into a circle about 12 inches wide. Gently place it in a 9-inch pie dish. Don’t worry if it’s not perfect; rustic is the name of the game!
- Fill the Pie:
Pour the apple mixture into the crust, ensuring it’s evenly distributed. Dot with the small pieces of butter for an extra dose of richness.
- Add the Top Crust:
Roll out the second dough disc and place it over the filling. Crimp the edges to seal—this is where you can get creative! You can make it fancy with braiding or just pinch it with your fingers. Cut slits in the top for steam to escape. Remember, we want to avoid a ‘pie explosion’ in the oven!
- Bake!
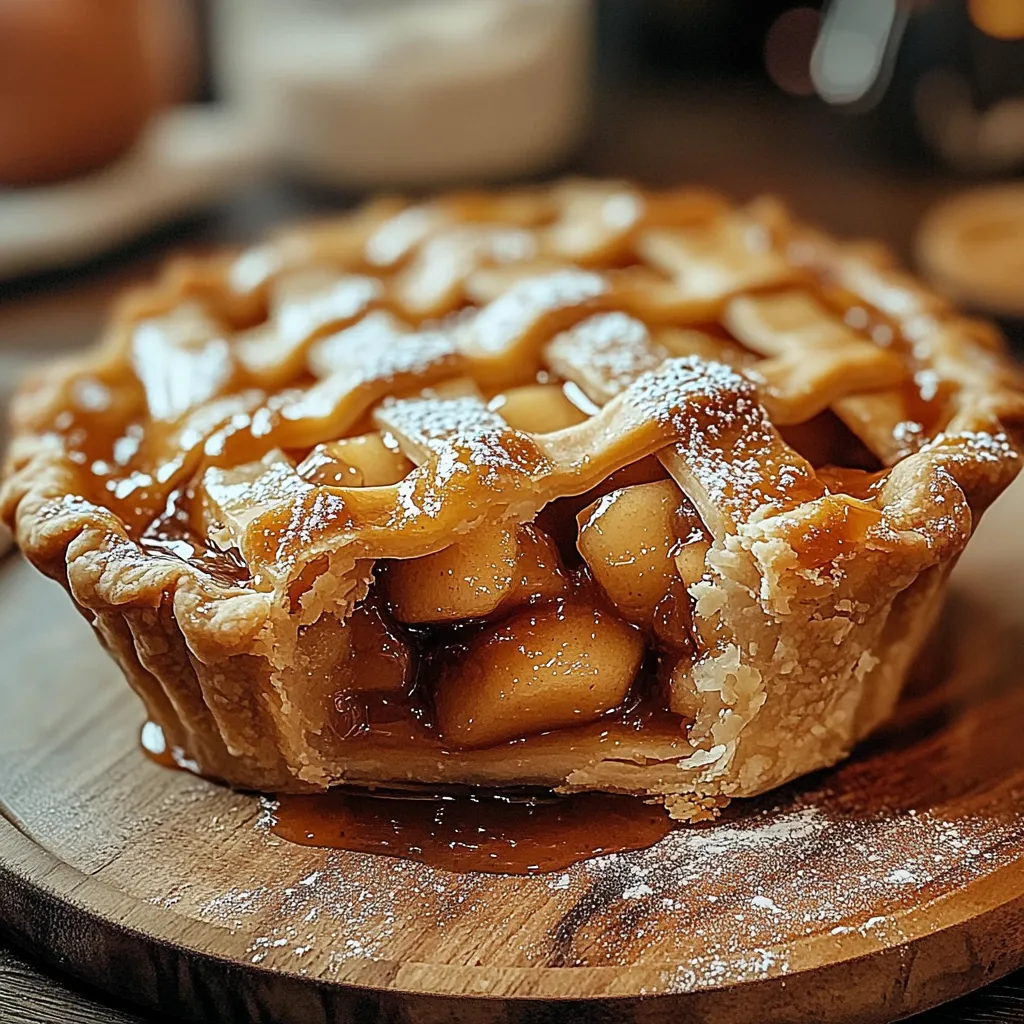
Preheat your oven to 425°F (220°C). Bake the pie for 15 minutes, then reduce the temperature to 350°F (175°C) and continue baking for another 35-45 minutes. You’ll know it’s done when the apples are bubbly and the crust is golden brown. Your kitchen will smell like a dream!
- Cool and Serve:
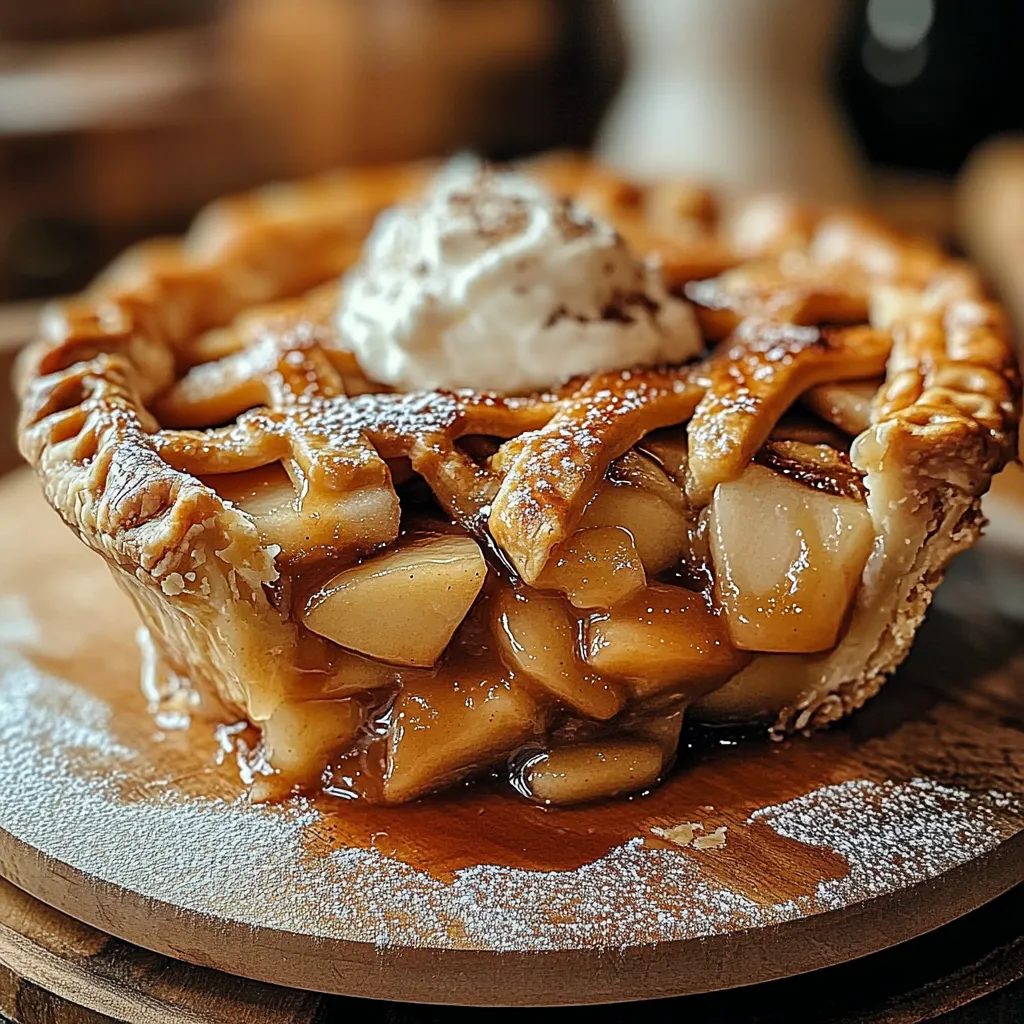
Allow the pie to cool for at least 2 hours before slicing—this helps the filling set up nicely. Serve it warm, perhaps with a scoop of vanilla ice cream melting over the top. Pure bliss!
Pro Tips & Variations
Feel free to get creative with this timeless recipe!
- Spices: Add a pinch of allspice for a deeper flavor.
- Sweetness: Honey or maple syrup can replace some of the sugar for a unique twist.
- Fruit Mix: Combine apples with pears or berries for a delightful fruit medley.
- Crust Variation: Try a crumb topping by mixing flour, oats, and brown sugar with melted butter instead of a top crust.
Serving Suggestions
For the perfect serving experience, place a slice of your Timeless Apple Pie Delight on a beautiful plate. Pair it with a cup of freshly brewed coffee or a side of warm custard. It’s delightful with a dollop of whipped cream or a generous scoop of vanilla ice cream that slowly melts over the warm pie. Picture this: sitting in your cozy corner, a slice of pie in one hand, a hot drink in the other, and a good book or company on a crisp autumn evening. Nothing beats it!
Storage Tips
After the pie cools, cover it with plastic wrap or foil and refrigerate. It will last up to 3-4 days (though I doubt it will last that long!). If you want to enjoy it later, feel free to freeze it before baking—just wrap it well and pop it in the freezer. When you’re ready, bake from frozen, but add some extra time to ensure it cooks thoroughly!
FAQs
Can I use store-bought pie crust for this recipe?
Absolutely! If you want to save some time, a store-bought pie crust can be a great alternative. Just make sure to give it time to thaw properly if it’s frozen.
What apples are best for apple pie?
The best apples for apple pie are usually tart and firm. Granny Smith and Honeycrisp are my go-tos, but feel free to experiment with your favorites or even mix a few varieties!
Can I make this recipe gluten-free?
Yes! You can substitute the all-purpose flour with a gluten-free blend. Just make sure it contains xanthan gum or add a bit to help with texture!
What should I do if my pie crust cracks?
No worries! If your dough cracks, just press it back together. If you’re concerned about aesthetics, you can always cover it with a crumb topping instead of a full crust. It’ll still taste amazing!
Conclusion
I hope you enjoy creating this Timeless Apple Pie Delight as much as I do! It’s not just about the pie; it’s about the memories we create while baking and sharing it with others. I’d love to hear how your pie turns out or if you have any special memories tied to apple pie. Feel free to comment below and share your stories. Happy baking!

Leave a Comment