
Oh, how I love the rich history behind Martha Washington Candies! These sweet little treasures have such a delightful story steeped in American heritage. I remember the first time I made them with my grandmother during the holidays. The air was filled with warmth from the oven and the sweet, nutty aroma of coconut and chocolate. Those moments in the kitchen were not just about making candies; they were about creating memories that linger like the sweet aftertaste of these delectable bites.
Martha Washington Candies are perfect for any occasion! Whether you’re whipping them up for a holiday gathering, a potluck, or just as a sweet treat for yourself, they always bring smiles. This recipe is easy to follow, so let’s chat about how to make these delightful little confections together!
Why You’ll Love This Recipe
- Incredible flavor combination of chocolate, coconut, and nuts.
- Perfect for sharing or gifting – who doesn’t love a homemade treat?
- Simple ingredients you likely already have in your pantry.
- Fun to customize with your favorite nuts or flavors!
Ingredients
Here’s what you’ll need to create these delicious Martha Washington Candies:
- 1 cup unsweetened shredded coconut
- 1 cup powdered sugar
- ½ cup sweetened condensed milk
- 1 tsp vanilla extract
- 1 cup chopped pecans (or your nut of choice, but pecans add a lovely depth!)
- 12 oz semisweet chocolate chips
- 2 tbsp coconut oil (this helps achieve that gorgeous shine!)
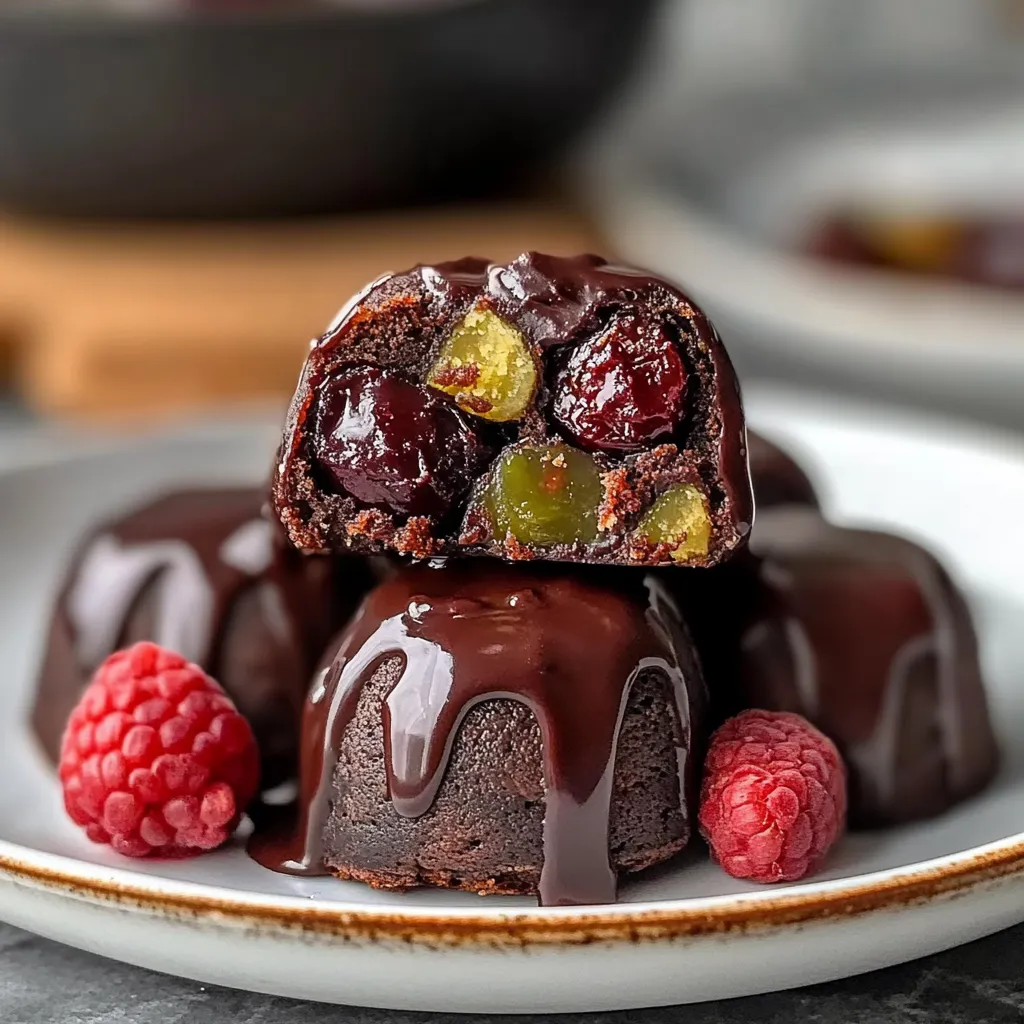
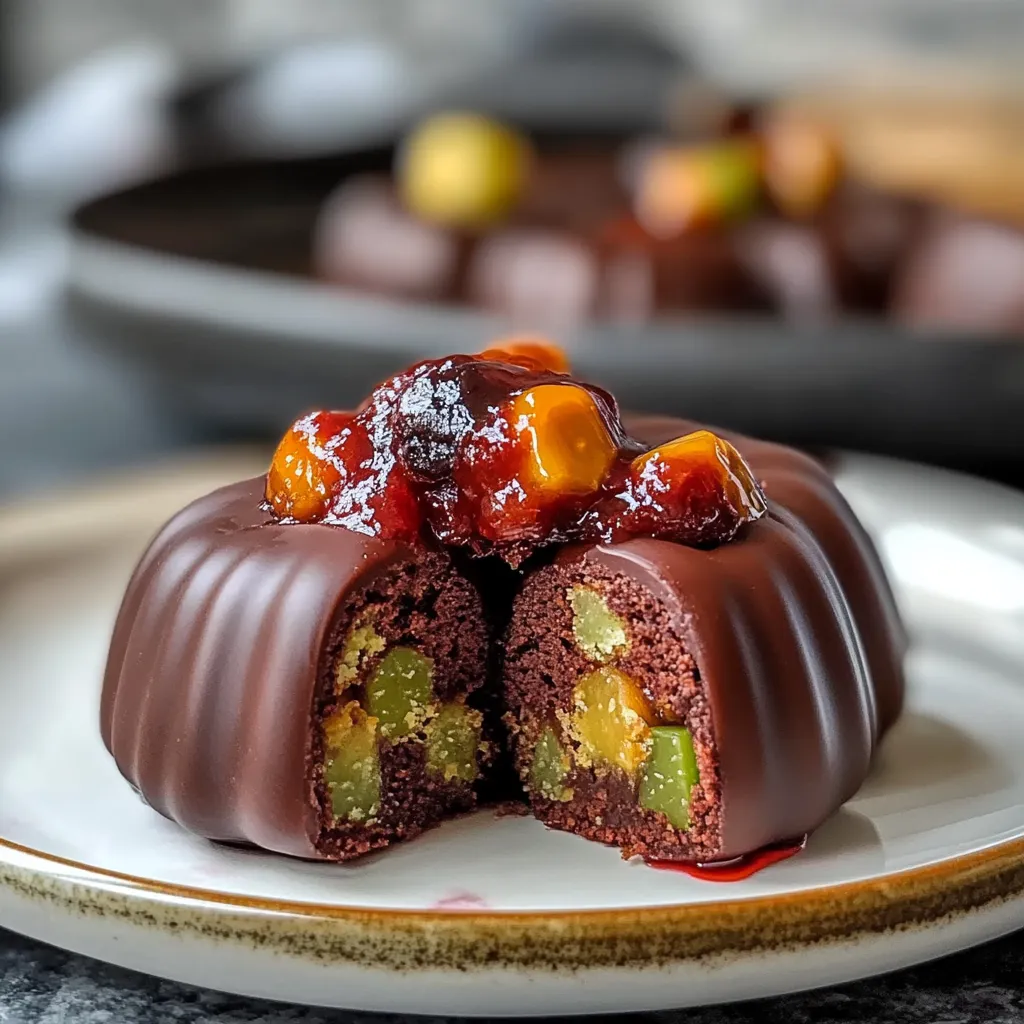
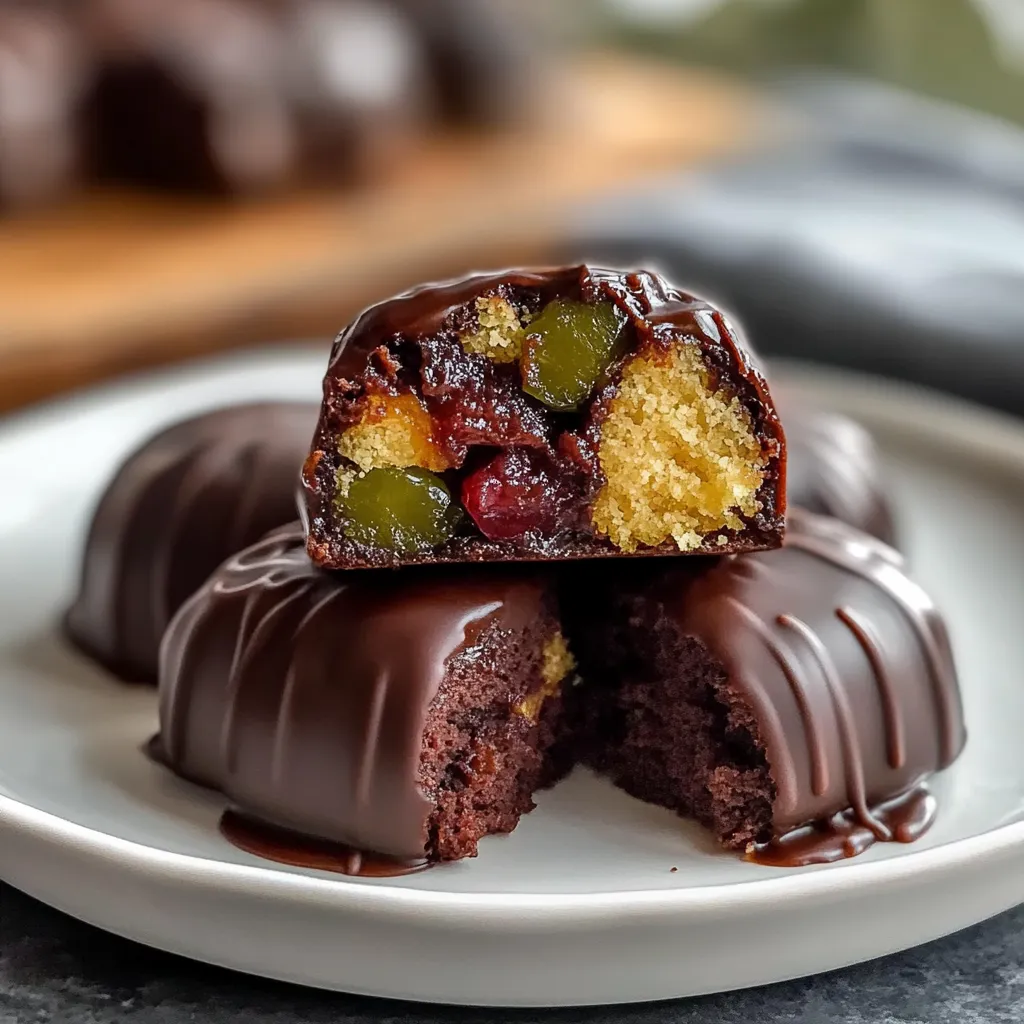
Step-by-Step Instructions
Alright, let’s bring these candies to life!
- In a medium bowl, combine the shredded coconut, powdered sugar, sweetened condensed milk, and vanilla extract. Mix it all together until you have a thick, sticky dough. Your hands might get a little messy, but trust me, it’s worth it!
- Fold in the chopped pecans. This adds a beautiful crunch and complements the sweetness perfectly.
- Now, cover the bowl with plastic wrap and pop it in the fridge for about 30 minutes. This is essential because it helps the mixture firm up, making it easier to shape.
- Once chilled, remove the bowl from the fridge and begin forming small balls (about 1 inch in diameter). Place them on a parchment-lined baking sheet. A cookie scoop can be super handy for this step!
- While you’re shaping the balls, let’s melt our chocolate coating. In a microwave-safe bowl, combine the semisweet chocolate chips and coconut oil. Heat in the microwave in increments of 30 seconds, stirring in between, until the chocolate is smooth and melted.
- Now comes the fun part! Dip each coconut ball into the melted chocolate using a fork, making sure they’re fully coated and letting the excess chocolate drip off. Place them back on the parchment-lined sheet.
- After dipping all the candies, pop them back in the fridge for about 30 minutes to allow the chocolate to set. The moment you see those candies glistening under the fridge light, you’ll know you’re in for a treat!
Pro Tips & Variations
Feel like having a little fun? Here are some twists you can try:
- Flavored Chocolates: Instead of classic semisweet chocolate, try using dark chocolate or white chocolate for a unique flavor.
- Nuts Galore: Switch it up with different nuts! Almonds and walnuts can give a new flavor profile.
- Add Zest: A little orange or lemon zest in the coconut mix can brighten the flavors beautifully.
- Spicy Kick: For those who love a bit of spice, try a pinch of cayenne pepper in the chocolate coating for a surprising sweetness!
Serving Suggestions
These Martha Washington Candies are ideal for a dessert platter or as a sweet addition to your coffee table spread. They pair beautifully with a freshly brewed cup of coffee or a warm cup of tea. Imagine a cozy afternoon with a few of these sweet bites and a good book; blissful, right? You can also gift them in decorative boxes tied with a ribbon – such a lovely way to show you care!
Storage Tips
Leftover candies? No problem! Store them in an airtight container in the fridge for up to two weeks. If you want to save them for later, you can freeze them! Place the candies in a single layer on a baking sheet and freeze until solid. Then transfer them to a freezer-safe container or bag. They can last up to three months frozen! When you’re ready to enjoy, just let them thaw in the fridge or at room temperature for a little while.
FAQs
Can I use sweetened shredded coconut instead of unsweetened?
Absolutely! Sweetened coconut will make your candies a touch sweeter. Just keep in mind that you might want to slightly reduce the powdered sugar in the recipe.
What if I don’t have pecans at home?
No worries! Use any nuts you have on hand—almonds, walnuts, or even macadamia nuts would work splendidly. You could even toss in some dried fruit for an added twist!
Can I make these candies vegan?
Yes, indeed! Substitute sweetened condensed milk with a coconut milk alternative and use dairy-free chocolate chips. They’ll be just as delightful!
How can I make the chocolate coating smoother?
Using coconut oil is a fantastic way to achieve a smooth melting chocolate. If you find your chocolate is too thick, you can always add a little more coconut oil or even a splash of vegetable oil to help it along!
And there you have it, my lovely friends—the delicious world of Martha Washington Candies! I invite you to give this recipe a try, and when you do, I’d love to hear about your experiences. Did you add your own special touch? Share your story, or snap a pic of your creations! Let’s keep this delightful discussion going as we celebrate the sweetness of homemade goodies together!

Leave a Comment