
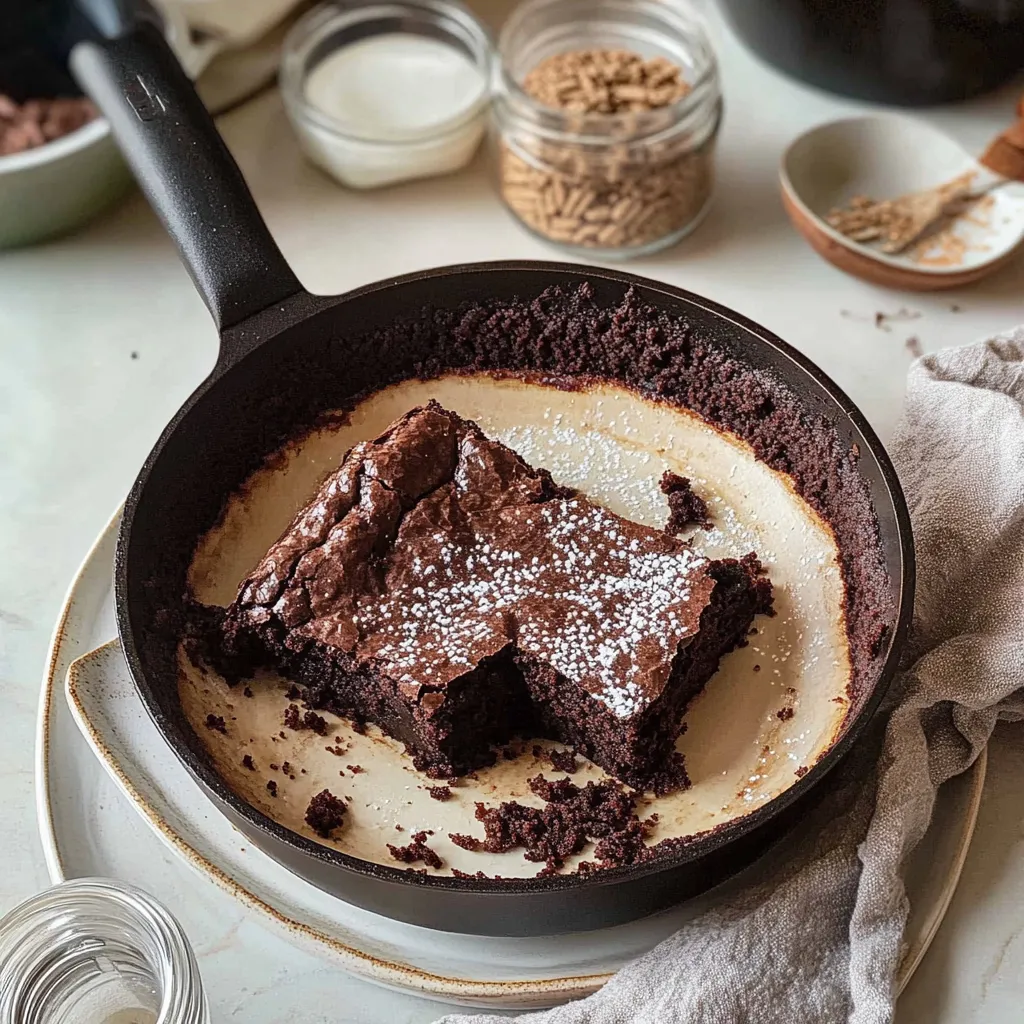
Hey there, sweet friends! Today I’m so excited to share a delightful recipe that’s going to make your kitchen smell amazing and your taste buds dance—Skillet Brownie with Homemade Jarred Brownie Mix! Oh, how I love a good brownie! They bring back warm memories of cozy afternoons with friends, laughter echoing through the kitchen, and that irresistible smell wafting through the air. If you’re anything like me, a warm brownie fresh out of the oven is pure happiness. Plus, this recipe is such a wonderful way to get ahead in your baking adventures by preparing a jar of brownie mix for those spontaneous sweet-tooth moments. Let’s dive into this deliciousness together!
Why You’ll Love This Recipe
- Super easy to whip up—perfect for weeknight cravings!
- Budget-friendly ingredients you’ll probably already have at home.
- Rich, chocolatey goodness that’ll have everyone asking for seconds.
- Homemade jarred mix means you can bake whenever the mood strikes!
Ingredients
Here’s what you’ll need to create your wonderful brownie mix and the skillet brownie itself:
For the Homemade Jarred Brownie Mix:
- 1 cup all-purpose flour
- 2 cups granulated sugar
- 1 cup unsweetened cocoa powder
- 1 teaspoon baking powder
- 1 teaspoon salt
- 1/2 cup chocolate chips (optional, but oh-so-recommended!)
For the Skillet Brownies:
- 1 and 1/2 cups brownie mix (from your jar)
- 1/2 cup unsalted butter, melted
- 2 large eggs
- 1 teaspoon vanilla extract
- 1/4 cup chopped nuts (walnuts or pecans are great!), optional
Note: If you want an extra fudgy brownie, swap the granulated sugar for brown sugar! It adds a lovely caramel touch.
Step-by-Step Instructions
- Make the Jarred Brownie Mix: In a large bowl, combine the flour, sugar, cocoa powder, baking powder, and salt. Whisk it up until there are no lumps—this will help your brownies bake evenly.
- Layer it Into a Jar: If you’re gifting this mix or saving it for later, scoop it all into a pint-sized jar, layering the dry ingredients in the order listed. Seal it up and give it a cute label. You can also add a ribbon around the jar for presentation!
- Preheat the Oven: When you’re ready to bake, preheat your oven to 350°F (175°C) and get your trusty skillet out—preferably cast iron for that classic brownie crust.
- Mix the Ingredients: In a medium bowl, combine 1 and 1/2 cups of your jarred brownie mix, melted butter, eggs, and vanilla extract. Stir until everything is well combined, but don’t overmix! A little bit of lumpiness is perfectly fine. You want that fudgy texture, not a cake-like one.
- Add Extra Goodness: If you like a little crunch, fold in your nuts and any additional chocolate chips for an even more decadent treat. Trust me, it’s worth it!
- Pour & Bake: Pour the brownie batter into your greased skillet. Bake in your preheated oven for about 25-30 minutes. You know it’s ready when the edges are firm and a toothpick inserted into the center comes out mostly clean with a few moist crumbs still on it.
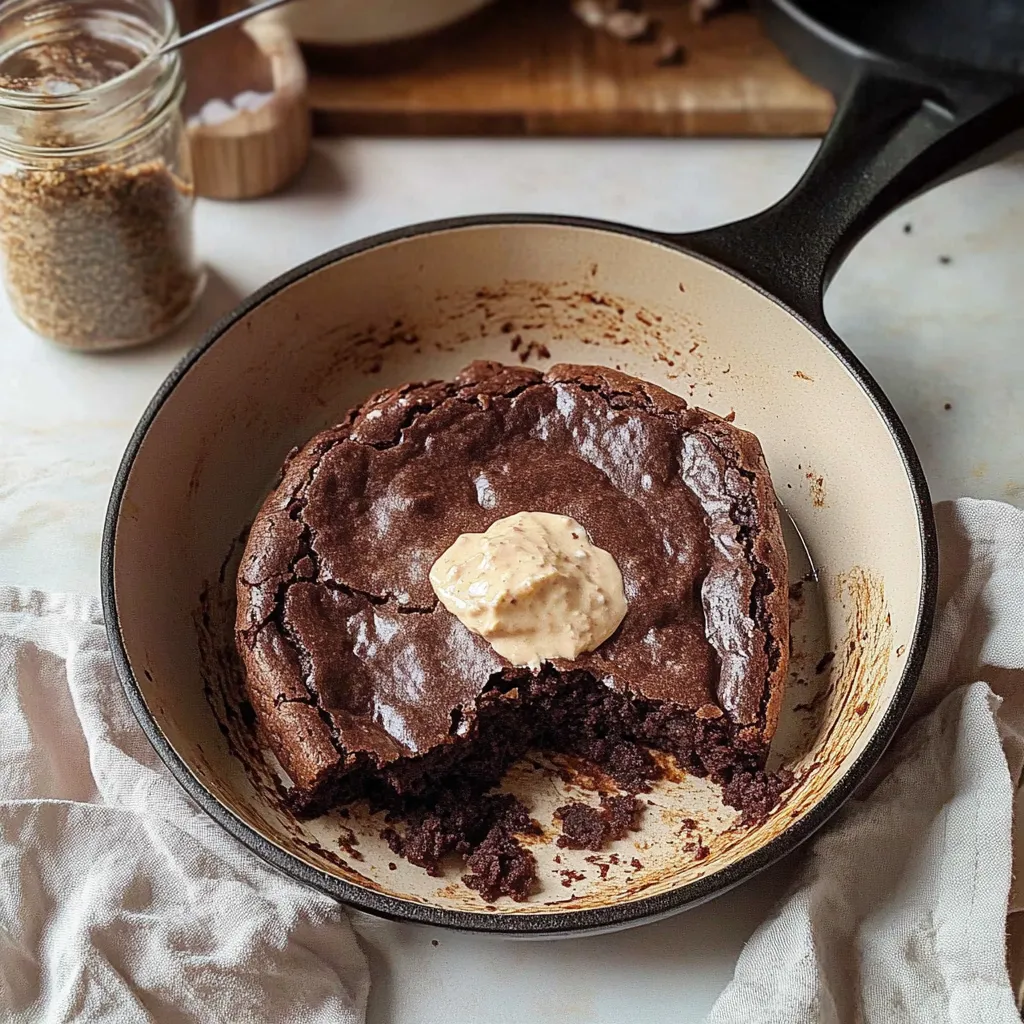
- Cool & Serve: Remove your skillet from the oven and let the brownies cool for at least 10 minutes—if you can wait that long! They’re best enjoyed while still warm with a scoop of vanilla ice cream on the side, or simply a dollop of whipped cream.
Pro Tip: If you’re feeling adventurous, throw in a pinch of espresso powder into your mix. It’ll intensify that chocolate flavor beautifully!
Pro Tips & Variations
You can really get playful with these brownies. Here are some of my favorite variations and tips:
- Spice it Up: Add a teaspoon of cinnamon or cayenne for some warmth!
- Use Different Nuts: Try almonds or macadamia nuts for a new twist.
- Mix in Extras: Want to go wild? Add in some peanut butter, Nutella, or even marshmallows for a s’mores-themed brownie!
- Go Gluten-Free: Substitute the all-purpose flour with a 1:1 gluten-free flour blend.
Keep it fun and let your creativity shine—you can’t go wrong with brownies!
Serving Suggestions
Serving these brownies is just as delightful as making them. Picture this: You’ve got your warm skillet of brownies straight from the oven, topped with a scoop of creamy vanilla ice cream that melts gently into the warm chocolate. Maybe accompany it with a steaming cup of coffee or even a rich cup of hot chocolate. It’s the perfect sweet treat to share with friends or enjoy on a quiet evening while binge-watching your favorite show.
Here’s a cozy thought: for a picnic or gathering, serve them cut into squares, dusted with powdered sugar, and don’t forget napkins—because these brownies can get deliciously messy!
Storage Tips
Got leftovers? (Though I can’t imagine that happening!) Here’s how to keep your brownies yummy:
- Refrigerate: Store any cooled brownies in an airtight container in the fridge. They’ll last about a week, but I recommend enjoying them sooner rather than later for best flavor and texture!
- Freeze: You can also freeze brownies. Just wrap them tightly in plastic wrap and then in aluminum foil. They can last up to three months! When you’re ready to eat them, let them thaw in the refrigerator overnight.
- Reheat: Pop a brownie in the microwave for about 10-15 seconds for that fresh-out-of-the-oven feeling, or gently warm them in the oven at low heat.
FAQs
Can I use this mix to make cupcakes instead?
Absolutely! You can pour the batter into cupcake liners and bake at 350°F (175°C) for about 18-20 minutes. Keep an eye on them, as they’ll bake faster than in a skillet!
What if I don’t have a skillet?
No skillet? No problem! You can use a regular baking pan or a square dish. Just adjust the baking time to around 20-25 minutes and check for doneness with the toothpick test.
What’s the best way to make these brownies chewy?
To achieve that chewy goodness, try reducing the amount of flour by about 2 tablespoons and baking for a shorter amount of time. Remember, the brownies will firm up as they cool, so don’t worry if they look a bit soft when they come out of the oven!
Can I make this mix vegan?
You can certainly make a vegan version! Substitute the eggs with applesauce (1/4 cup per egg) or a flax egg (1 tablespoon ground flaxseed mixed in with 3 tablespoons water). Use vegan butter or coconut oil as well!
Conclusion
And there you have it, my sweet friends! Your very own Skillet Brownie with Homemade Jarred Brownie Mix Recipe. I hope you give this a try and enjoy every warm, chocolaty bite. Don’t forget to let me know how yours turned out in the comments below—I love hearing your stories and variations! Happy baking, and may your kitchen always smell of sweetness!


Leave a Comment