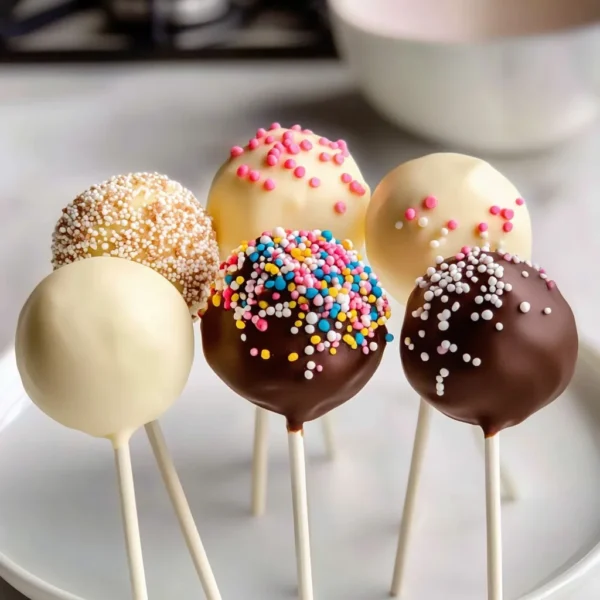
Hey there, sweet friends! Today, I’m pulling out one of my favorite recipes that always brings back fond memories—Homemade Cake Pops! Every time I make these adorable little treats, I can’t help but think of the first time I made them with my niece. We giggled, made a delightful mess, and ended up with more frosting on our faces than on the pops. Isn’t that what cooking is all about? Creating joyful moments in the kitchen that turn into delicious memories!
The best part about cake pops is that they are versatile, fun to decorate, and absolutely scrumptious. You get that bite-sized cake goodness combined with a sweet coating, making dessert even more delightful. Plus, they’re perfect for parties, gifts, or simply a treat for yourself! So, put on your favorite apron, and let’s dive into the sweet world of Homemade Cake Pops!
Why You’ll Love This Recipe
- Easy to whip up with ingredients you likely already have at home.
- Great for parties, birthdays, or even just a cozy night in.
- Customizable! Change flavors and decorations to match any occasion.
- A fun activity to do with family or friends—perfect for kids!
- Gorgeous little treats that impress without being overly complicated.

Ingredients
Here’s what you’ll need to create your very own Homemade Cake Pops:
- 1 box of cake mix (any flavor you love!)
- 3 large eggs
- 1 cup of water
- 1/2 cup of vegetable oil
- 1 cup of frosting (store-bought or homemade—your choice!)
- 1 1/2 cups of candy melts or chocolate for coating
- Assorted sprinkles or toppings (get creative!)
- Wooden popsicle sticks or lollipop sticks
Note: Using a good quality cake mix can really up the flavor game! If you’re feeling adventurous, consider incorporating flavored extracts like vanilla or almond for an extra kick.
Step-by-Step Instructions
- Prepare the Cake: Preheat your oven according to the cake mix box instructions. Grease and flour your cake pan. Mix together the cake mix, eggs, water, and vegetable oil in a large bowl, following the directions on the box. Remember not to overmix—just combine until smooth!
- Bake: Pour the batter into the prepared pan and bake according to the package’s instructions. Once your kitchen is filled with that irresistible cake aroma, take it out and let it cool completely on a wire rack.
- Crumble the Cake: Once your cake is cool, crumble it into a large bowl. Use your hands or a fork to break it up until it becomes fine crumbs—this part is fun!
- Add the Frosting: Mix in the frosting gradually, until the mixture becomes easily moldable. It should hold together but not be too wet—think about the consistency of dough. You want it to have a nice richness without being overly sticky.
- Form the Pops: Take small portions of the mixture and roll them into balls about the size of a ping-pong ball. Place the balls on a baking sheet lined with parchment paper.
- Chill: Pop the baking sheet into the fridge for about 30 minutes to firm up the cake balls. This makes dipping them in chocolate so much easier!
- Melt the Chocolate: While your cake balls are chilling, melt the candy melts in a microwave-safe bowl. Heat in 30-second intervals, stirring in between until smooth. Add a tiny splash of vegetable oil to make it extra glossy if needed!
- Dip Your Cake Pops: Take the chilled cake balls out, and dip the tip of a lollipop stick into the melted chocolate. Then, insert the stick into the cake ball— this helps the stick stay in place. Now, dip the entire ball into the chocolate coating, tapping gently to remove any excess.
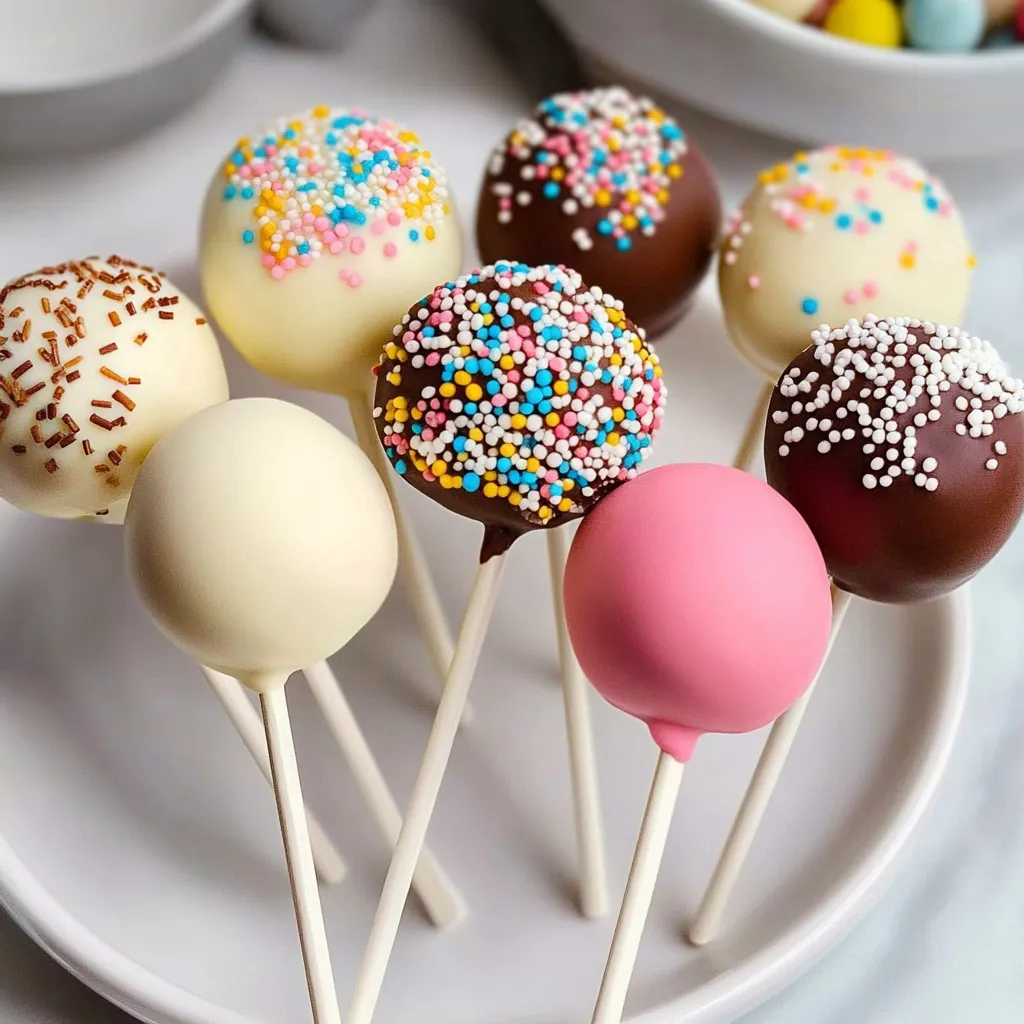
- Decorate: Before the chocolate sets, roll your pops in sprinkles, or use different toppings like crushed nuts or coconut flakes. Get creative! Place them upright in a styrofoam block or a decorative container.
- Let them Set: Allow the chocolate to harden completely—this can take about 1-2 hours at room temperature. You can also pop them in the fridge for a quicker set.
Pro Tips & Variations
Now that you’re a pro at making cake pops, let’s spice things up a little!
- Flavor Variations: Try using a vanilla cake mix with lemon frosting for a refreshing twist. Red velvet with cream cheese frosting is also a hit!
- Dipping Chocolate: Mix and match different colored candy melts for various holidays or themes. You can even use white chocolate and tint it with food coloring!
- Healthier Option: Use a sugar-free cake mix and low-calorie frosting for a more guilt-free treat.
- Fillings: Take it to the next level by stuffing the cake pops with chocolate chips or a dollop of peanut butter before rolling them into balls.
Serving Suggestions
Serving these beauties is just as fun as making them! They’re perfect for parties, baby showers, or any gathering where you want to impress your friends. Consider displaying them in a cute cupcake stand or a mason jar filled with colorful rice or sprinkles to keep them upright.
Pair your cake pops with a hot cup of coffee or a glass of milk for a cozy after-school snack, or set them up as a sweet table centerpiece at your next celebration. The vibrant colors and whimsical nature of cake pops make them an instant hit!
Storage Tips
Want to save some cake pops for later? No problem! Keep them in an airtight container at room temperature for up to 3 days. If you need to keep them longer, they can be refrigerated for up to a week. Just make sure they’re in a sealed container to avoid drying out.
For longer storage, pop them in the freezer! Wrap them tightly in plastic wrap and then store them in a freezer-safe bag or container. When you’re ready to enjoy, let them thaw in the fridge and they will be as good as fresh!
FAQs
Can I use any cake mix for cake pops?
Absolutely! You can use any flavor of cake mix you love. Chocolate, vanilla, lemon—there are endless possibilities. Just follow the same steps, and you’ll have delightful treats no matter the flavor!
How do I get my chocolate smooth when dipping?
Make sure to melt the candy melts slowly over low heat, stirring frequently. If the chocolate seems too thick, adding a splash of vegetable oil can help thin it out for an easier dip!
Can I make cake pops ahead of time?
You bet! Cake pops are great for planning ahead. You can make them up to a week in advance if stored properly in the fridge, or freeze them for up to a month.
What’s the best way to decorate cake pops?
The options are limitless! Sprinkles, edible glitter, or even melted white chocolate drizzle can elevate your pops. Just let your creativity shine—remember, it’s all about having fun!
Why are my cake pops falling off the stick?
This can happen if the cake balls are too heavy or your chocolate coating isn’t thick enough. Make sure to chill the balls well before dipping, and you can also dip the stick in chocolate before inserting it into the cake ball to help secure it better.
Conclusion
There you have it! A fun, easy, and incredibly versatile recipe for Homemade Cake Pops. I hope you’ve enjoyed this journey through the world of cake pops as much as I do! Whether you’re making them for a party, special occasion, or just a sweet treat for yourself, they’re sure to put a smile on your face.
Remember, cooking is all about joy, creativity, and sharing moments with those you love. I’d love to hear about your own cake pop adventures! Feel free to drop a comment below or share your favorite flavors and decorating ideas. Happy baking, my friends!


Leave a Comment