There’s something so comforting about a crispy, melty sandwich that takes you back to childhood, isn’t there? I fondly remember weekends at my grandma’s house, the smell of something delicious wafting through the air, making our stomachs rumble in anticipation. One of the stars of those kitchen escapades was her delightful Chicken Cordon Bleu. Fast forward to today, and I’ve transformed that nostalgic recipe into something quick and easy: the Easy Grilled Chicken Cordon Bleu Sandwich! This dish is perfect for a cozy weeknight dinner yet fancy enough to impress a guest on the weekend.
The crispy chicken, savory ham, and gooey cheese come together to create an explosion of flavor that warms the heart. Trust me, once you take your first bite, you’ll find yourself reaching for another slice of bread! Let me take you through the process — it’s as much fun to make as it is to eat!
Why You’ll Love This Recipe
- Quick and easy, perfect for busy weeknights.
- Budget-friendly ingredients without sacrificing flavor.
- Customizable to suit your tastes or dietary needs.
- Comforting, satisfying, and ridiculously delicious!
Ingredients
Here’s what you’ll need for this delightful sandwich:
- 2 boneless, skinless chicken breasts
- 4 slices of ham (I prefer a good quality, smoky ham)
- 4 slices of Swiss cheese (or any melty cheese you love!)
- 1 cup of breadcrumbs (panko works wonderfully for extra crunch)
- 1/2 cup of all-purpose flour
- 2 large eggs
- 1 teaspoon garlic powder (fresh garlic adds more punch than powdered, but this is easier!)
- Salt and pepper to taste
- Butter or olive oil for grilling
- Brioche or your favorite sandwich bread (the fluffier, the better!)
Step-by-Step Instructions
Let’s dive into the fun part — making your Easy Grilled Chicken Cordon Bleu Sandwich!
- Prep the Chicken: Start by placing your chicken breasts between two sheets of plastic wrap. Grab a meat mallet or rolling pin and gently pound them until they’re about 1/2 inch thick. This not only tenderizes the meat but also helps it cook evenly. Don’t go too hard; we want flat, not a chicken pancake!
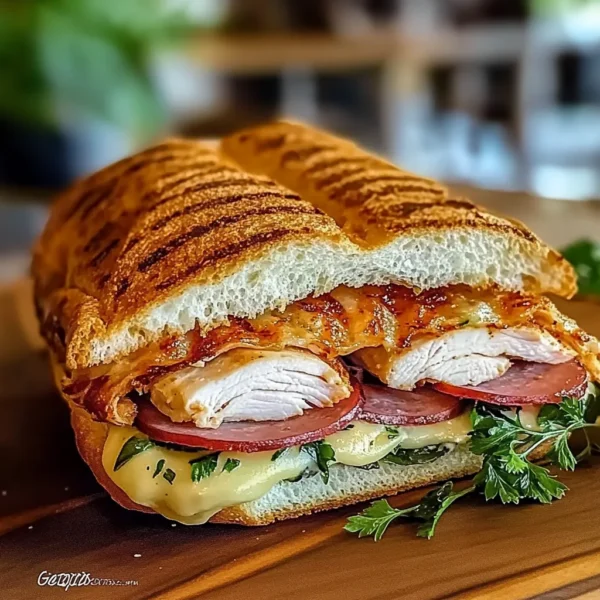
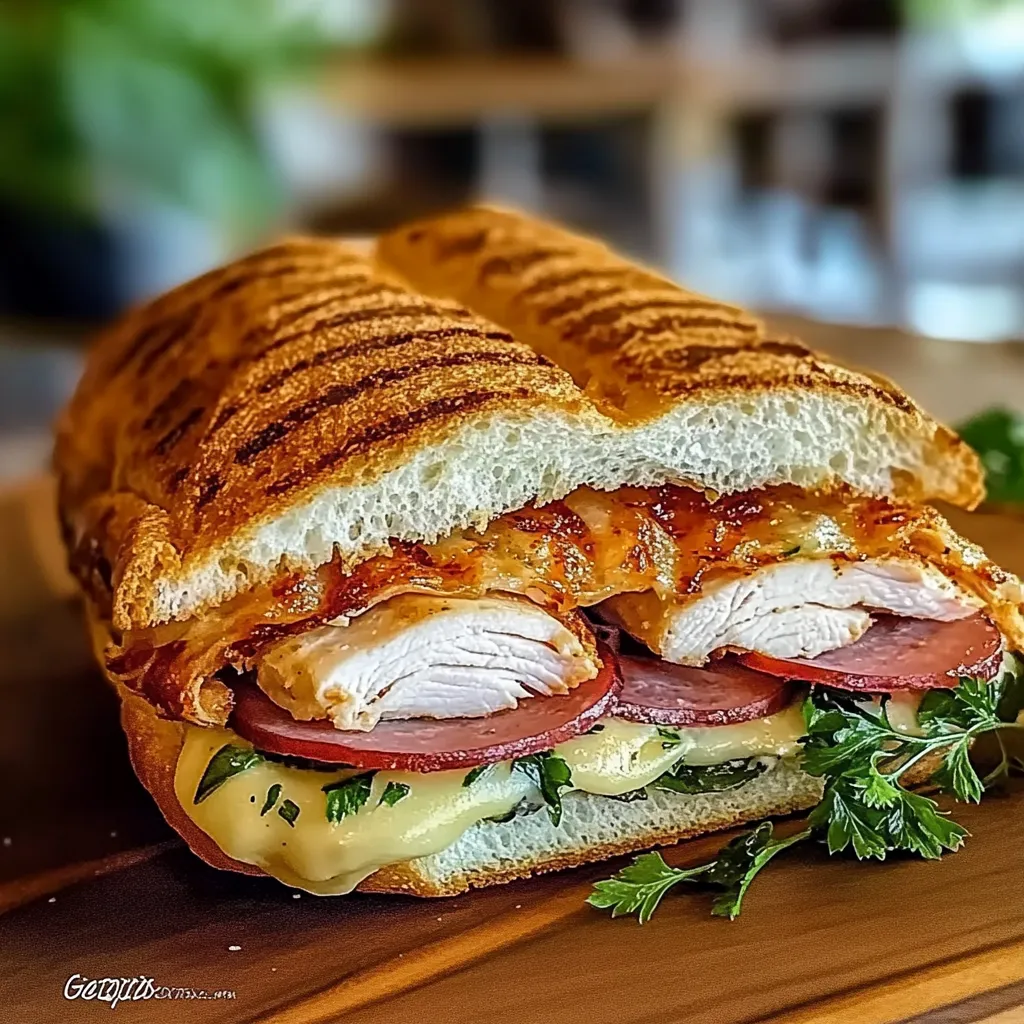
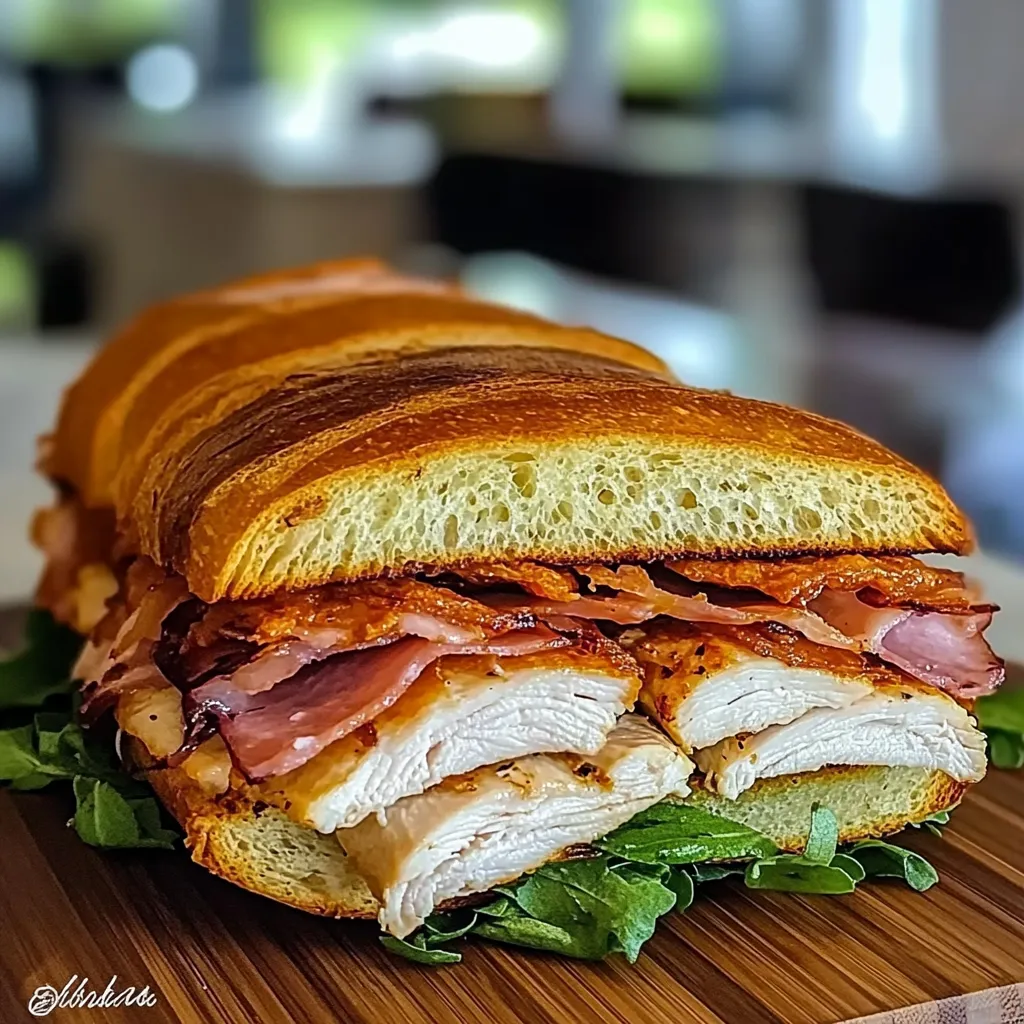
- Season and Layer: Season the chicken with salt, pepper, and garlic powder. On one half of each chicken breast, layer two slices of ham and then top with a slice of Swiss cheese. Fold the chicken over to create a pocket and secure with toothpicks — this makes the grill process easier!
- Breading Time: Set up a breading station: one plate with flour, one with beaten eggs, and one with breadcrumbs. First, dip each chicken pocket in the flour, coating all sides. Next, dunk it in the egg wash, letting the excess drip off, and finally, coat it in breadcrumbs. Press firmly to ensure the breadcrumbs stick well.
- Heat the Griddle: Heat a skillet or griddle over medium heat. Add a bit of butter or a drizzle of olive oil — this is where the magic of flavor begins! Let the butter foam up a bit before adding your chicken.
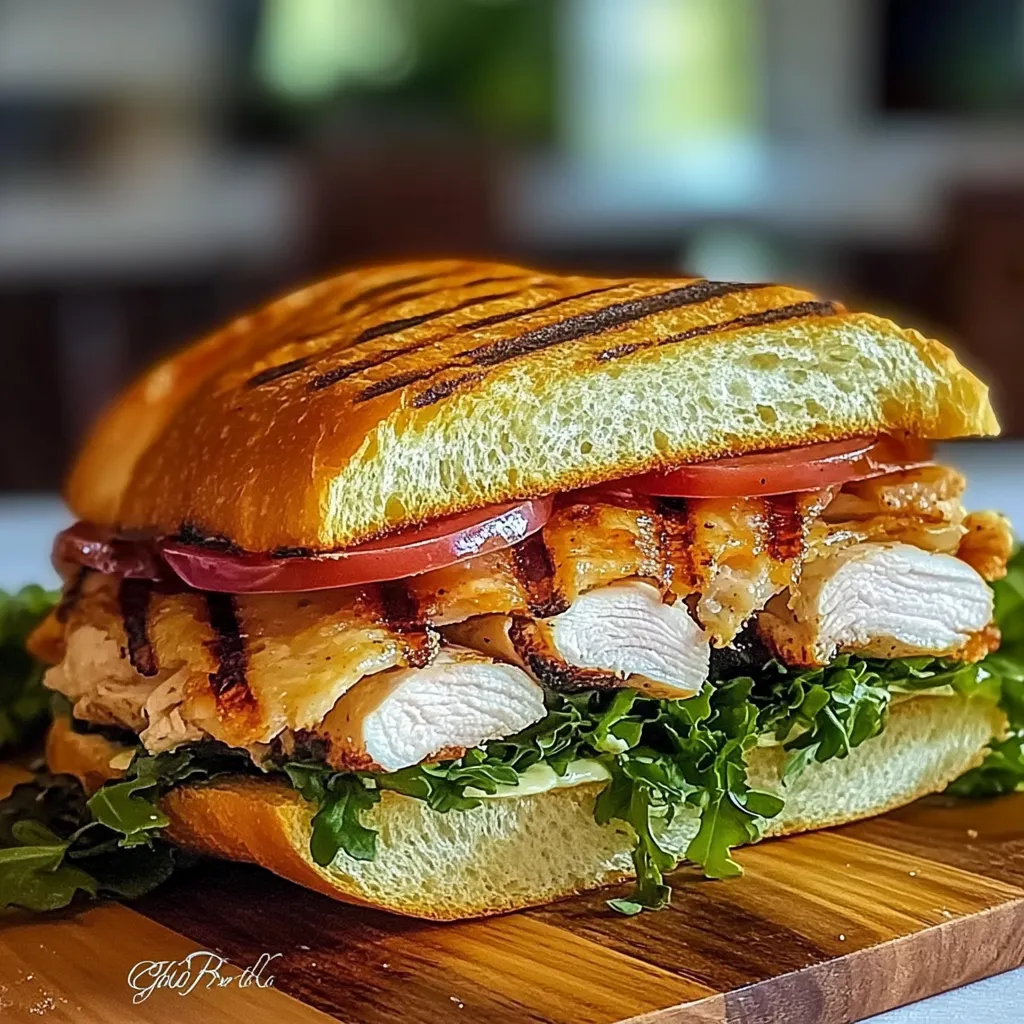
- Cook the Chicken: Cook the chicken for about 4-5 minutes on each side until golden brown and cooked through. Use a meat thermometer if you have one; the chicken should reach an internal temperature of 165°F (75°C). If you notice the breadcrumbs browning too fast, turn the heat down a notch.
- Warm the Bread: While the chicken finishes cooking, toast your sandwich bread lightly in the same skillet for about a minute on each side until golden. Oh, the smell of warm, buttery bread is heavenly!
- Assemble the Sandwich: Once the chicken is done, carefully remove the toothpicks and place each chicken pocket on a slice of toasted bread. Top it with another slice and slice it in half for easier handling. Serve warm and enjoy the delightful gooeyness that oozes out!
Pro Tips & Variations
Now that you’ve mastered the basics, let’s play around a bit!
- Spice Things Up: Feel free to add herbs or spices of your choice! A sprinkle of smoked paprika can elevate the flavor immensely.
- Try Different Cheeses: If Swiss isn’t your jam, provolone or even a sharp cheddar will work beautifully.
- Healthier Swap: For a lighter version, use turkey slices instead of ham and opt for whole-grain bread. You’ll hardly notice the difference!
- Extra Crunch: Add thinly sliced pickles or lettuce for an extra crunch and freshness. Trust me, it’s a game-changer!
Serving Suggestions
These sandwiches are perfect on their own, but if you want to make a meal out of it, pair your Easy Grilled Chicken Cordon Bleu Sandwich with a side of crispy homemade fries or a fresh garden salad. A light vinaigrette on the side can really enhance the entire experience. How about a hot cup of coffee or a glass of chilled lemonade to wash it down? Cozy up on the couch or share it with loved ones around the dinner table — either way, it’s sure to be a hit!
Storage Tips
Got leftovers? Lucky you! Here’s how to store them:
- Refrigerating: Place any leftover sandwiches in an airtight container in the fridge. They’ll stay fresh for up to 3 days.
- Freezing: If you want to make a big batch ahead of time, freeze the cooked sandwiches individually wrapped in foil or plastic wrap for up to 2 months. Just remember that the texture of the bread may be slightly different when reheated.
- Reheating: To reheat, pop them in a 350°F (175°C) oven for 15-20 minutes or until heated through. This way, the bread stays nice and crispy!
FAQs
Can I use other meats instead of chicken?
Absolutely! You could use turkey or even thinly sliced pork for a different twist. Just make sure it’s cooked through. Get creative!
What if I don’t have panko breadcrumbs?
No worries at all! Regular breadcrumbs work just fine. You might miss out on a bit of crunch, but it’ll still be delicious!
Can I make these sandwiches ahead of time?
Yes! You can prepare the breaded chicken ahead of time and store it in the fridge until you’re ready to cook. Just remember to cook them fresh for maximum crunchiness!
What can I pair these with for a picnic?
They pair beautifully with a fresh potato salad, some homemade chips, and a zesty coleslaw for a delightful picnic spread!
Conclusion
I hope you enjoy making and savoring this Easy Grilled Chicken Cordon Bleu Sandwich as much as I do! It’s such a delightful fusion of nostalgic flavors and modern cooking ease. If you try it out, please share your thoughts or any fun twists you made in the comments below. I’d love to hear your stories and see your delicious creations!


Leave a Comment