
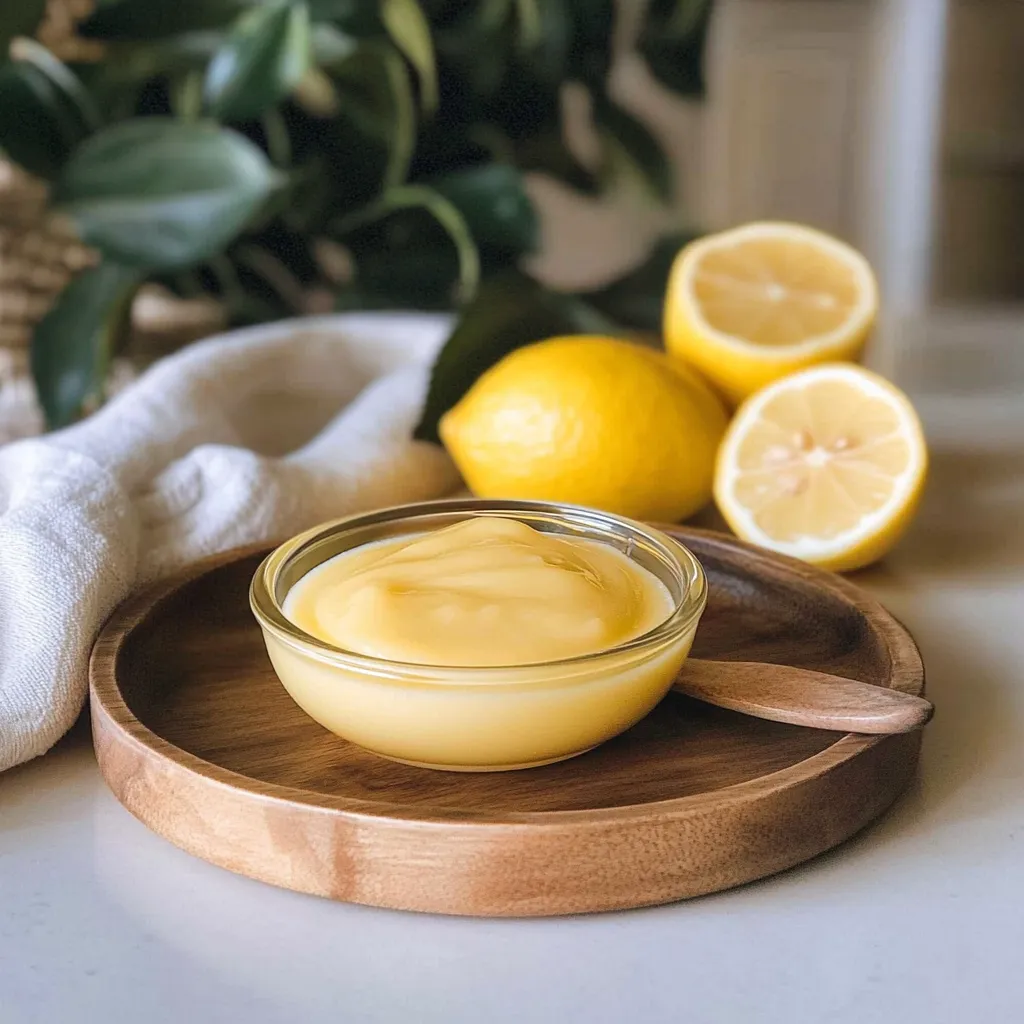
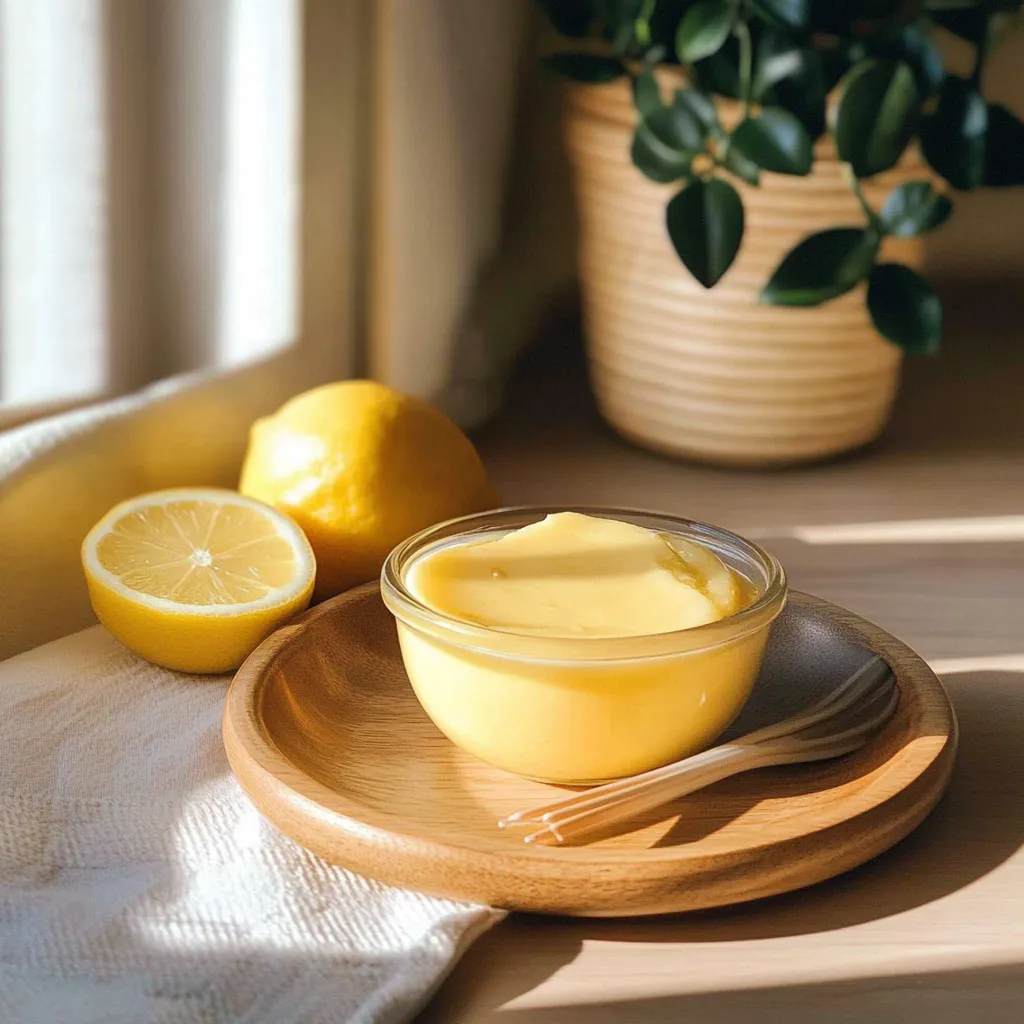
Ah, lemon curd—just saying the words makes my mouth water! I vividly remember the first time I tasted this delightful, bright spread. It was a sunny Sunday morning at my grandmother’s house, and she had just finished whisking together eggs, sugar, and zesty lemons on the stovetop. The smell was intoxicating, wafting through the kitchen like a warm embrace, inviting everyone to gather around. As we dipped our spoons in, that smooth, glossy texture of the curd was like velvet on the palate, with just the right balance of sweet and tangy. That moment sparked my love for lemon curd, and I’m so excited to share my Easy Lemon Curd Recipe with you—it’s quick, delicious, and will make your kitchen feel like a fresh spring day, no matter the season!
Why You’ll Love This Recipe
- Quick to whip up—perfect for unexpected guests!
- Made with simple ingredients you probably already have on hand.
- Versatile and can be used in desserts, as a topping, or even in savory dishes.
- Brightens up everything from toast to cake to yogurt.
- Gives you that homemade touch that always impresses.
Ingredients
Before we dive into cooking, let’s gather our goodies! Here’s what you’ll need:
- 1/2 cup fresh lemon juice (about 3-4 lemons, juiced)
- 1 cup granulated sugar
- 4 large eggs
- 1/2 cup unsalted butter, cut into cubes (room temperature is lovely)
- 1 tablespoon lemon zest (freshly grated for the most flavor)
- Pinch of salt
Pro tip: Always use fresh lemons for juicing! It gives a brightness that bottled juice just can’t match.
Step-by-Step Instructions
Now that we have our ingredients, let’s roll up our sleeves and get cooking! Here’s how to make your very own lemon curd:
- Prepare your workspace: Find a medium-sized saucepan and a whisk. If you have a heatproof bowl for later, grab that too.
- Mix the ingredients: In your saucepan, combine the granulated sugar, lemon juice, eggs, and a pinch of salt. Whisk them together until well blended.
- Heat it up: Place the saucepan over medium heat. Stir continuously to prevent the eggs from scrambling. You don’t want any bits of egg in your silky curd!
- Watch for thickening: Keep stirring until the mixture thickens and coats the back of a spoon—about 10 minutes. Keep the heat steady but not too high, as you want a gentle simmer rather than a vigorous boil.
- Add the butter: Once thickened, remove the saucepan from the heat and stir in the cubed butter until melted and fully incorporated.
- Incorporate zest: Finally, stir in that gorgeous lemon zest for an extra burst of flavor!
- Cool it off: Pour the lemon curd through a fine-mesh sieve into your heatproof bowl (this ensures it’s super smooth). Let it cool slightly before transferring to clean jars.
Keep an eye on it while cooking to avoid scrambling, and remember: patience is key. You’ll know it’s ready when it’s thick enough to draw a line across the back of a spoon.
Pro Tips & Variations
Now that you’ve mastered the basics, here are a few fun ideas to get creative with your lemon curd:
- Spice it up: Consider adding a pinch of cayenne for a subtle kick or some fresh herbs like basil or mint for a unique twist.
- Infused flavors: Try substituting some lemon juice with other citrus juices like lime or blood orange. You’ll have a whole new flavor profile!
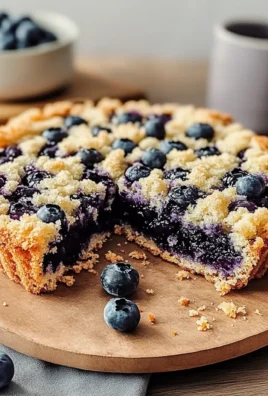
- Fruity additions: Mix in fresh berries for a fruity lemon curd or add some chopped crystallized ginger for a spicy note.
- Diet swaps: Looking for a vegan variation? Substitute eggs with cornstarch mixed with a little water for thickening and use non-dairy butter!
These variations can elevate your lemon curd experience, so don’t hesitate to play around!
Serving Suggestions
Now, let’s talk about how to enjoy this lovely lemon curd. Here’s how I like to serve it:
- Spread it: Slather on a warm scone or fresh buttered toast for a delightful breakfast.
- Swirl it: Mix it into plain yogurt for a refreshing snack or dessert.
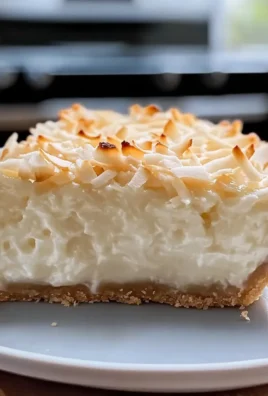
- Layer it: Use it to fill cakes or cupcakes for that fabulous zing!
- Pie filling: Elevate your dessert game by using lemon curd as a filling for tarts.
Pair it with a nice cup of tea or coffee, and enjoy the cozy vibes!
Storage Tips
Let’s not waste that unreal goodness you just created! Here’s how to store your lemon curd:
- Refrigerating: Store in an airtight container in the fridge for up to 2 weeks. That’s right—you can enjoy this sunshine-in-a-jar for a while!
- Freezing: Want a longer shelf life? Freeze lemon curd for up to 3 months in a freezer-safe container. Just remember to leave some space at the top since it will expand as it freezes.
- Thawing: When you’re ready to use your frozen curd, thaw it overnight in the fridge and give it a good stir before serving.
FAQs
Can I use bottled lemon juice?
While it’s definitely more convenient, bottled lemon juice doesn’t give the same fresh flavor as real lemons. I highly recommend using fresh juice for the best results!
What can I do if my curd doesn’t thicken?
If your curd isn’t thickening, it could be that it hasn’t cooked long enough. Keep stirring over medium heat until it thickens, and remember to be patient. You could also try adding a bit of cornstarch mixed with water to help thicken it if needed.
How can I tell if my lemon curd is done?
You’ll know your lemon curd is ready when it coats the back of a spoon and you can draw a line through it with your finger—almost like a delicious magic trick!
Can I use this recipe for other fruits?
Absolutely! You can substitute lemon with lime, orange, or even mixed berries. Just adjust the sugar based on the fruit’s sweetness.
Conclusion
And there you have it! A delightful journey to making homemade lemon curd that’s both easy and delicious. I hope you enjoy every spoonful just as much as I do. Please let me know if you tried this recipe. I’d love to hear how it turned out for you! Share your thoughts, tips, and any fun twists you added in the comments below. Happy cooking!

Leave a Comment