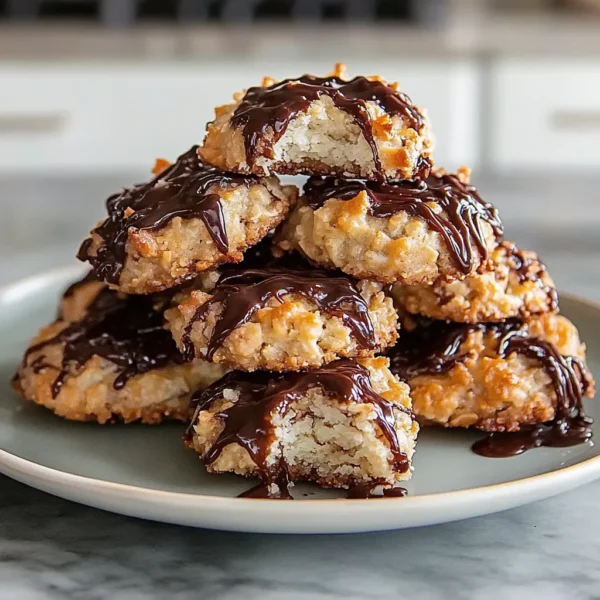
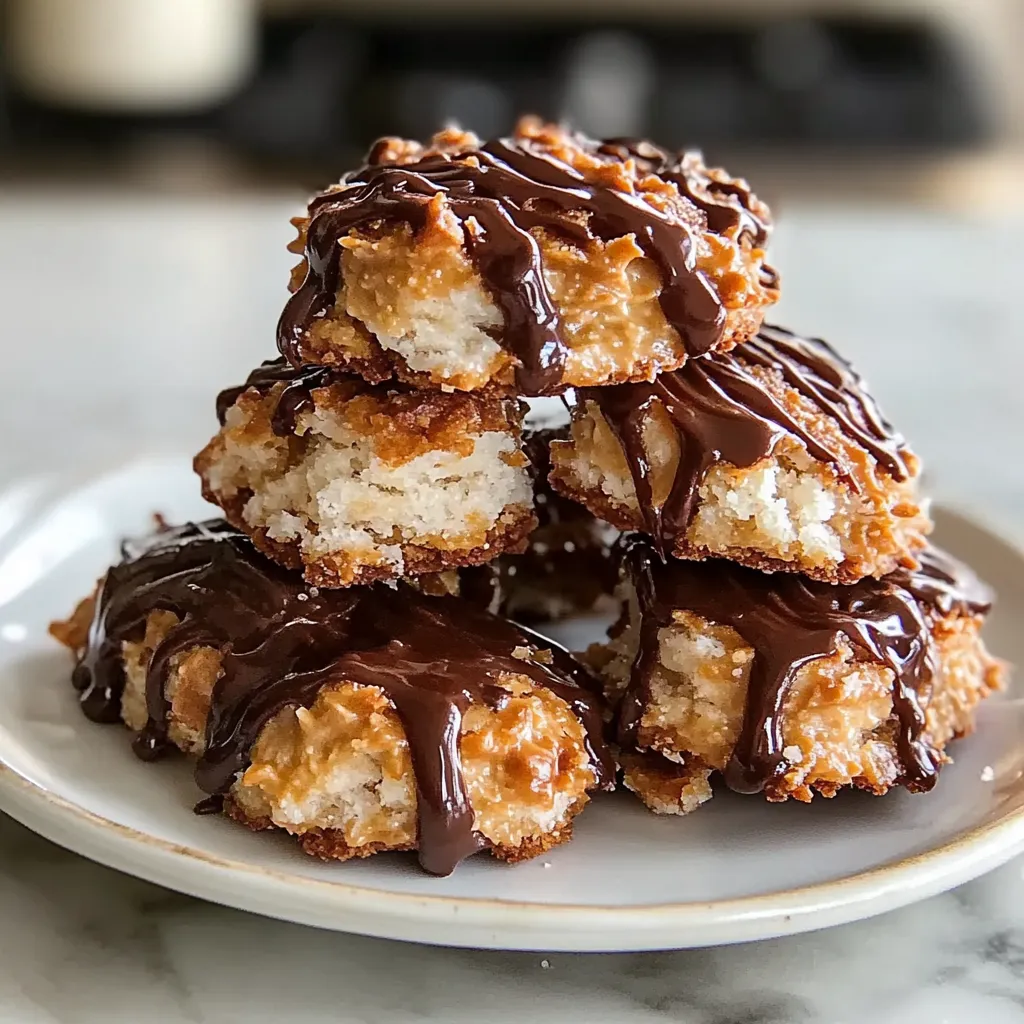
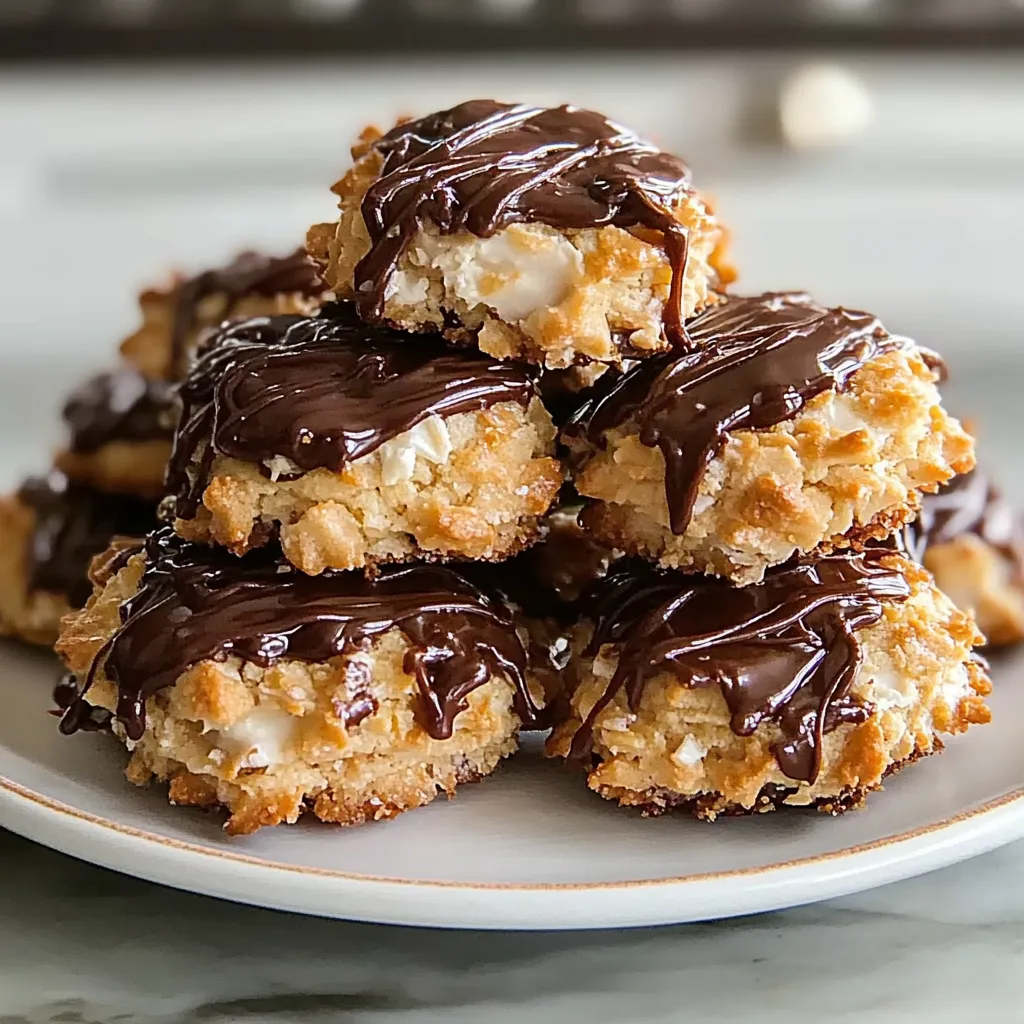
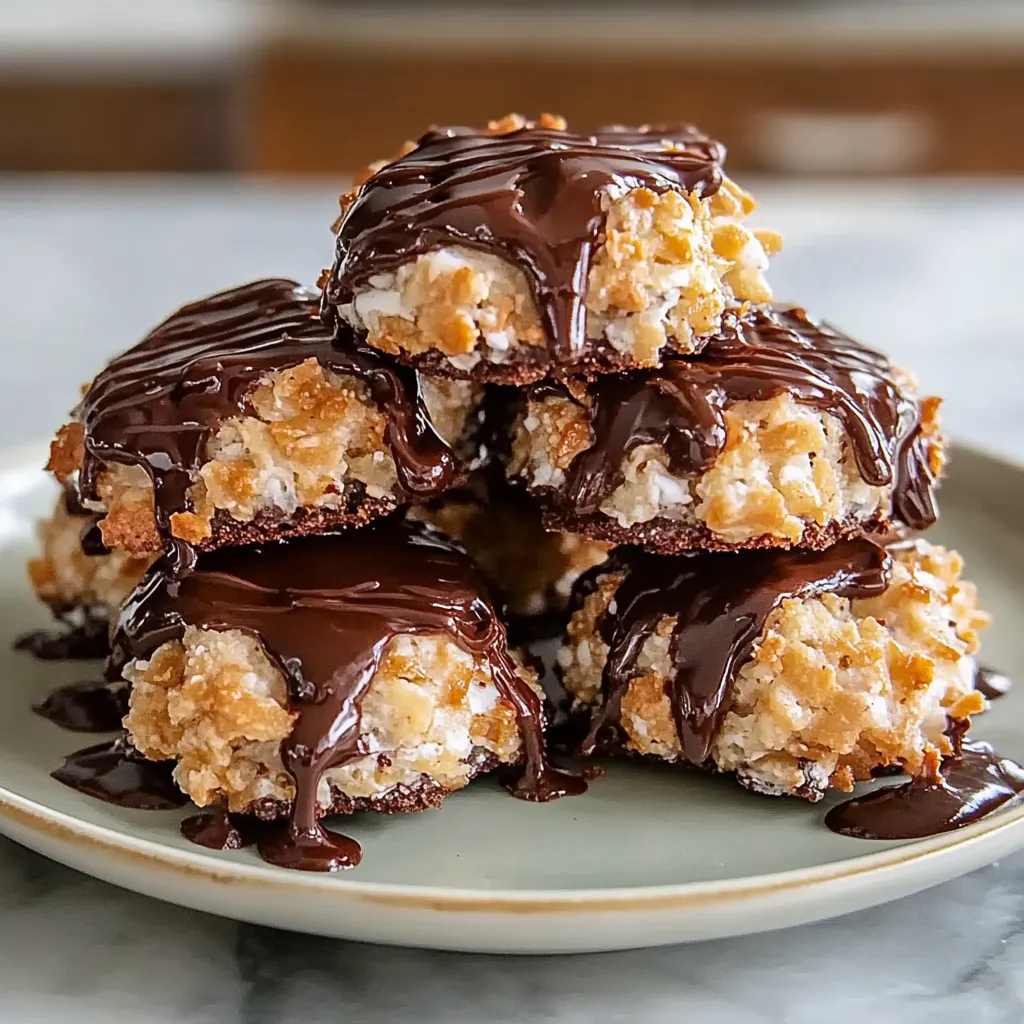
Ah, Samoa cookies! Those irresistibly chewy and chocolatey delights that pack a sweet punch. Every time I sink my teeth into one, I’m instantly transported back to my childhood days, eagerly waiting for cookie season. I remember the excitement of seeing the girls in their vibrant sashes and badges stand outside the local grocery store, selling those iconic boxes. But did you know you can recreate that mouthwatering experience right in your own kitchen? That’s right! Today, I’m going to share my favorite Homemade Samoa Cookies recipe with you.
Not only do these cookies satisfy your sweet tooth, but they also allow you to customize them to your own taste. Let’s roll up our sleeves, preheat that oven, and dive into a delightful baking adventure!
Why You’ll Love This Recipe
- Gooey, toasted coconut perfectly complements the chocolate dip.
- Easy to make with simple ingredients you likely have at home.
- Perfect for sharing (or not… we won’t judge!).
- Great for any occasion, from cozy evenings to festive gatherings.
Ingredients
Here’s what you’ll need to create these delectable cookies:
- For the Cookies:
- 1 cup unsalted butter, softened
- ¾ cup granulated sugar
- ¾ cup brown sugar, packed
- 1 teaspoon vanilla extract
- 2 ¼ cups all-purpose flour
- 1 teaspoon baking soda
- ½ teaspoon salt
- For the Caramel Coconut Topping:
- 2 cups sweetened shredded coconut
- 14 oz caramel candies (about 36 pieces)
- 2 tablespoons heavy cream
- For the Chocolate Drizzle:
- 1 cup semi-sweet chocolate chips
Note: Using fresh unsalted butter will give you the best richness in flavor, and definitely go for sweetened coconut for that perfect balance of sweetness!
Step-by-Step Instructions
Now, let’s get to baking! I promise it’s easier than it sounds:
- Preheat Your Oven: Preheat your oven to 350°F (175°C). This is key for that perfect cookie texture!
- Make the Cookie Dough: In a large mixing bowl, cream together the softened butter, granulated sugar, and brown sugar until light and fluffy. This usually takes about 2-3 minutes. Add the vanilla extract and mix well.
- Combine Dry Ingredients: In another bowl, whisk together the flour, baking soda, and salt. Gradually add this mixture to the butter mixture, being careful not to overmix. Just until it comes together!
- Shape the Cookies: Roll the dough into 1-inch balls and place them about 2 inches apart on a baking sheet lined with parchment paper. Use your thumb or the back of a measuring teaspoon to create a small indention in the center of each cookie.
- Bake: Bake in the preheated oven for 10-12 minutes or until the edges are lightly golden. Let them cool on the baking sheet for 5 minutes before transferring to a wire rack. They should be soft and chewy!
- Prepare the Coconut Topping: While the cookies cool, in a large skillet over medium heat, toast the shredded coconut until golden brown, stirring frequently to avoid burning. This should take about 5-7 minutes. Your kitchen will smell heavenly!
- Make the Caramel Mixture: In a saucepan, melt the caramel candies and heavy cream over low heat, stirring until smooth. Remove from heat, and then stir in the toasted coconut until well combined.
- Assemble the Cookies: Spoon the caramel-coconut mixture onto the center of each cooled cookie, spreading it gently to cover the hole. Now it’s starting to look like a Samoa!
- Make the Chocolate Drizzle: Melt the chocolate chips in the microwave or using a double boiler until smooth. Drizzle the melted chocolate over the coconut topping on each cookie. Don’t be shy with it; a good drizzle makes everything better!
- Let Set: Allow the cookies to set for about 30 minutes, or until the chocolate has hardened. Just enough time to enjoy the aroma wafting through your kitchen!
Pro Tips & Variations
Feeling adventurous? Here are some fun twists you can try:
- Nutty Flavor: Add chopped pecans or almonds to the coconut topping for an extra crunch.
- Dark Chocolate Lover: Substitute semi-sweet chocolate chips with dark chocolate chips for a richer flavor.
- Make It Vegan: Use vegan butter and dairy-free chocolate to create a vegan version of these cookies!
Remember, the key to great cookies is to not rush. Enjoy the process and savor every moment! Baking should be a joyful experience—let your personality shine in your cookies!
Serving Suggestions
These Samoa cookies are perfect for any occasion! Serve them warm on a cozy coffee table with a steaming cup of coffee or tea in the afternoon. They’re also a great treat at parties—watch as guests rave about them! For a fun twist, how about pairing them with vanilla ice cream? The combination of cool ice cream and warm cookies is nothing short of magical. Just imagine the delicious contrast in textures!
Storage Tips
If you happen to have any cookies left (which is highly doubtful because they are so tasty!), here’s how to store them:
- Room Temperature: Keep them in an airtight container at room temperature for up to one week. If they last that long!
- Refrigeration: For longer storage, you can place them in the fridge, where they’ll stay fresh for about two weeks.
- Freezing: If you really want to save some for later, these cookies freeze beautifully! Just place them in a single layer on a baking sheet to freeze, then transfer them to an airtight container. They’ll last up to three months. To serve, simply thaw them at room temperature, or pop them in the microwave for a few seconds for that fresh-baked warmth!
FAQs
Can I use unsweetened coconut instead of sweetened?
While you can use unsweetened coconut, it won’t give you that deliciously sweet punch that Samoa cookies are known for. If you opt for unsweetened, consider adding a bit of sugar to the caramel mixture!
Can I make the dough ahead of time?
Absolutely! You can prepare the dough, wrap it tightly in plastic wrap, and store it in the fridge for up to three days. Or, freeze it for up to three months. Just thaw the dough in the fridge overnight before baking!
What can I substitute for the caramel candies?
If you’re in a pinch and can’t find caramel candies, you can make your own caramel sauce. Just be sure it’s thick enough so it won’t run off the cookies.
Is there a gluten-free option for this recipe?
You can easily make these cookies gluten-free by substituting all-purpose flour with a good quality gluten-free baking mix. Just make sure your other ingredients are also gluten-free!
Conclusion
There you have it—delicious Homemade Samoa Cookies that will surely bring a smile to your face and warmth to your heart. I hope you find as much joy in making them as I do! Remember, baking is all about sharing, so don’t keep these scrumptious treats to yourself. Share them with friends, family, or even your neighbor—though you might just want to hide a few for yourself!
I’d love to hear how your cookies turn out! Don’t forget to leave a comment below and share your own tips and tweaks. Happy baking, friends!

Leave a Comment