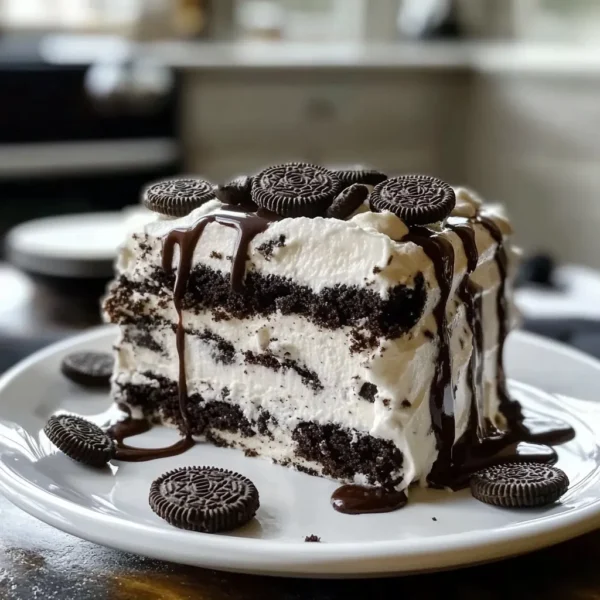
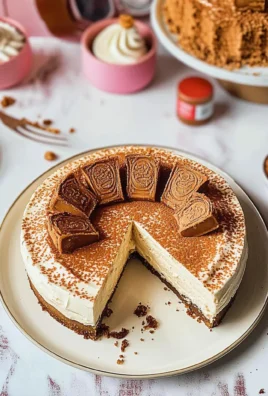
Ah, the Oreo Icebox Cake! Every time I make this dessert, I’m transported back to summer afternoons spent in my grandma’s kitchen, where the air was filled with laughter, sunshine, and the occasional whiff of freshly baked sweets. There’s something magical about a no-bake cake that squishes together creamy layers of deliciousness, and this recipe is an absolute showstopper! The combination of rich, velvety whipped cream and crunchy, chocolatey Oreos creates a delightful contrast that makes every bite a little celebration. Whenever I serve this dessert, smiles abound, and I can’t help but feel a little proud, knowing it’s such a hit.
If you’ve never made an icebox cake before, don’t fret! It’s one of the simplest desserts you can whip up, and it requires virtually no baking skills at all. Just a few layers and some patience while it chills, and you’ve got yourself a decadent treat that looks as good as it tastes. So, let’s dive into this dreamy Oreo Icebox Cake recipe together!
Why You’ll Love This Recipe
- 📅 Super easy to prepare—perfect for a weeknight dessert.
- 💰 Budget-friendly with only a few ingredients.
- ❤️ Comforting, familiar flavors that everyone loves.
- ☀️ No-bake, making it a great summer treat!
Ingredients
Gather these delightful ingredients to create your very own Oreo Icebox Cake:
- 36 Oreo cookies, plus more for decoration
- 2 cups heavy whipping cream
- 1 cup powdered sugar
- 1 teaspoon vanilla extract
- ⅓ cup chocolate syrup (optional, but highly recommended!)
Note: Using fresh heavy cream will give you that rich, luscious taste that pre-whipped creams just can’t match! And feel free to adjust the amount of powdered sugar to your sweetness preference.
Step-by-Step Instructions
Now that you’re all set with your ingredients, let’s get started! Follow these simple steps:
- Prep your pan: Choose an 8×8 or a 9×9 square baking dish. If you want a stronger visual pop, you can use a springform pan! It’ll be easy to release and showcase those beautiful layers when you serve. Tip: Line the bottom with parchment paper for easy removal.
- Make the whipped cream: In a large bowl, pour in your heavy whipping cream. Using an electric mixer, beat it on medium speed until it begins to thicken—this usually takes about 2-3 minutes. Then gradually add in the powdered sugar and vanilla extract, and beat until soft peaks form. Watch out! Don’t overmix, or you’ll end up with butter instead of cream!
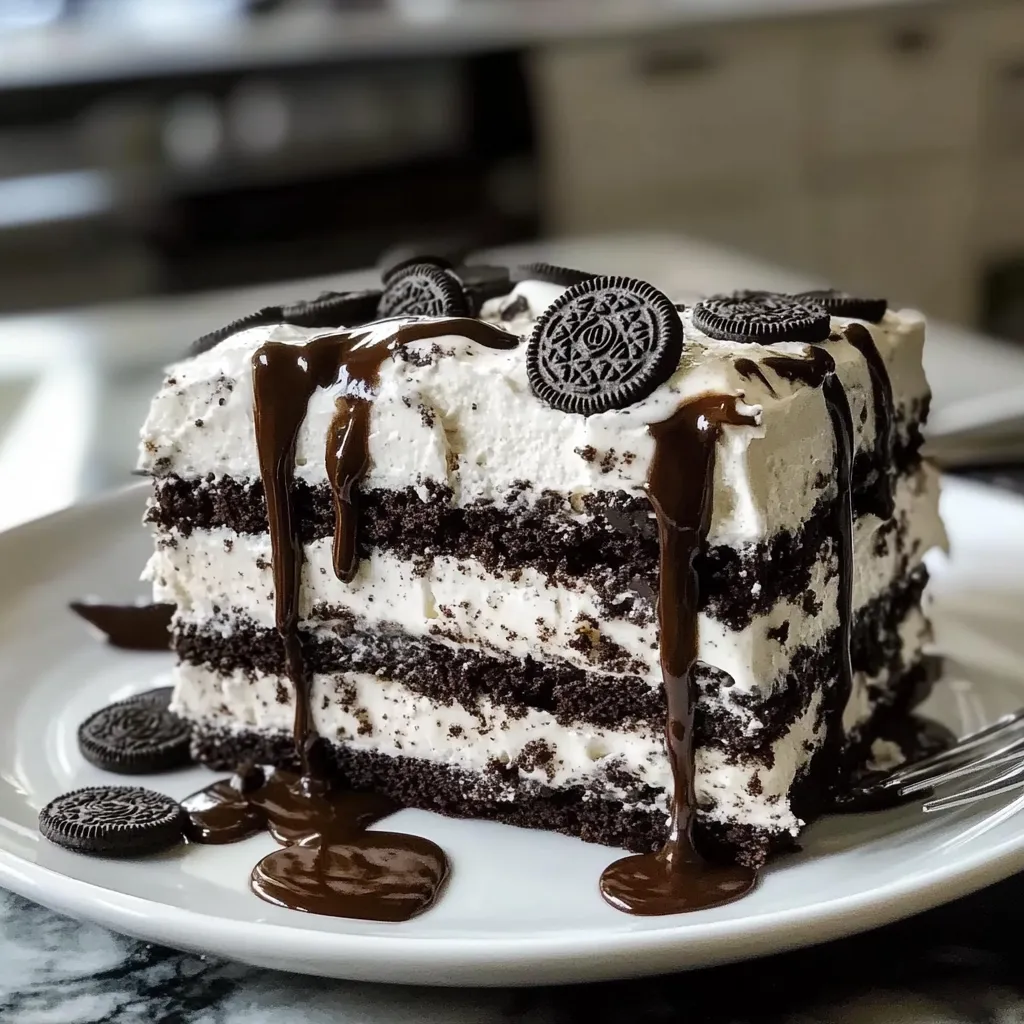
- Layer it up: Place a layer of Oreos at the bottom of your baking dish, covering the entire base. Spread a generous layer of whipped cream over the cookies. Feel free to drizzle a little chocolate syrup here for an extra indulgent touch!
- Keep layering: Repeat layering with more Oreos and whipped cream until you reach the top of your dish—typically it’s 3 layers. End with a final layer of whipped cream. Don’t forget to save some crushed Oreos for the topping!
- Chill: Cover the dish with plastic wrap and refrigerate for at least 4 hours, or ideally overnight. This helps the cookies soften and meld beautifully with the cream. The longer, the better!
Pro Tips & Variations
Ready to get a little creative? Here are some fun twists and tips:
- 🌰 Nuts, anyone? Add chopped pecans or walnuts in between the layers for a lovely crunch.
- 🍓 Fruitiness: Layer in sliced strawberries or raspberries for a fruity contrast that pairs perfectly with the chocolate.
- 🥄 Swap the cream: For a lighter version, opt for cool whip or a coconut cream alternative for a dairy-free treat.
- 🍪 Cookie variations: Try using Mint Oreos for a refreshing minty taste or even vanilla wafers for a twist on the classic!
Serving Suggestions
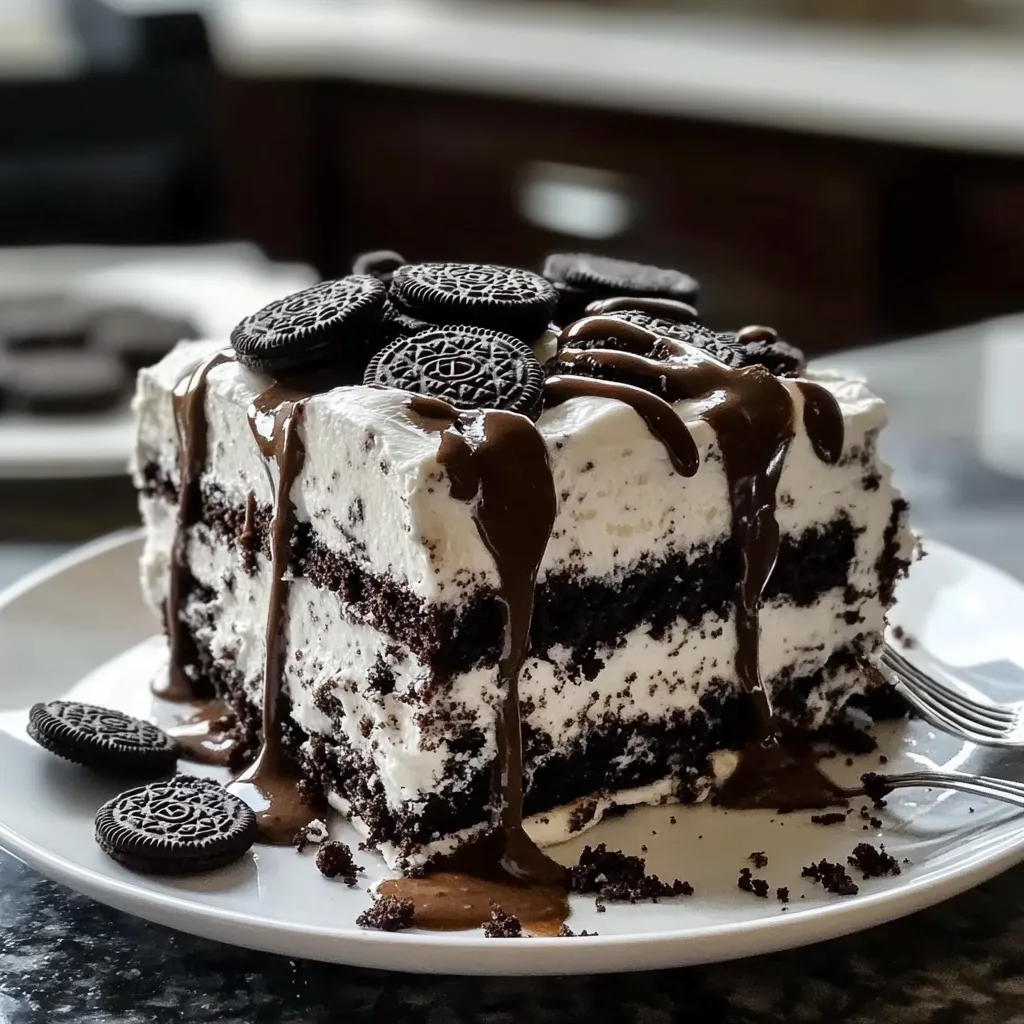
When it’s time to serve, I love to slice this cake into generous squares and top each piece with dollops of extra whipped cream and a sprinkle of crushed Oreos. You can even drizzle a little more chocolate syrup on top—because, why not? Pair it with a hot cup of coffee or a scoop of vanilla bean ice cream for a truly decadent experience. Imagine this—you, your family or friends, and this luscious cake, all while chatting and reminiscing. It feels like a warm hug, doesn’t it?
Storage Tips
One of the best parts about this Oreo Icebox Cake is that it keeps so well! Here’s how you can store it:
- 🍰 Refrigerate: Keep your leftovers covered in the fridge for up to 3 days. The flavors continue to meld, making it even tastier!
- ❄️ Freeze: Yes, you can freeze it! Wrap it tightly and store it in an airtight container for up to 2 months. Just be sure to thaw it in the refrigerator before serving.
Can I use store-bought whipped cream instead of making my own?
Absolutely! Store-bought whipped cream is a perfect shortcut. Just be sure to use a high-quality brand for the best flavor.
What’s the best way to cut the cake without it falling apart?
Use a hot, dry knife to slice through the cake. This will help you get clean lines without disturbing the layers too much. Just rinse the knife under hot water, dry it, and then cut!
Can I add other flavors to the whipped cream?
Definitely! You can infuse the whipped cream with a bit of espresso powder for a mocha flavor, or even a tablespoon of your favorite liqueur to give it an adult twist! Just remember to keep the sugar balance in mind.
Do I have to wait overnight for the cake to set?
While it’s best to let it set overnight so the Oreos can soften properly, if you’re in a hurry, a minimum of 4 hours will work—but I promise, patience pays off!
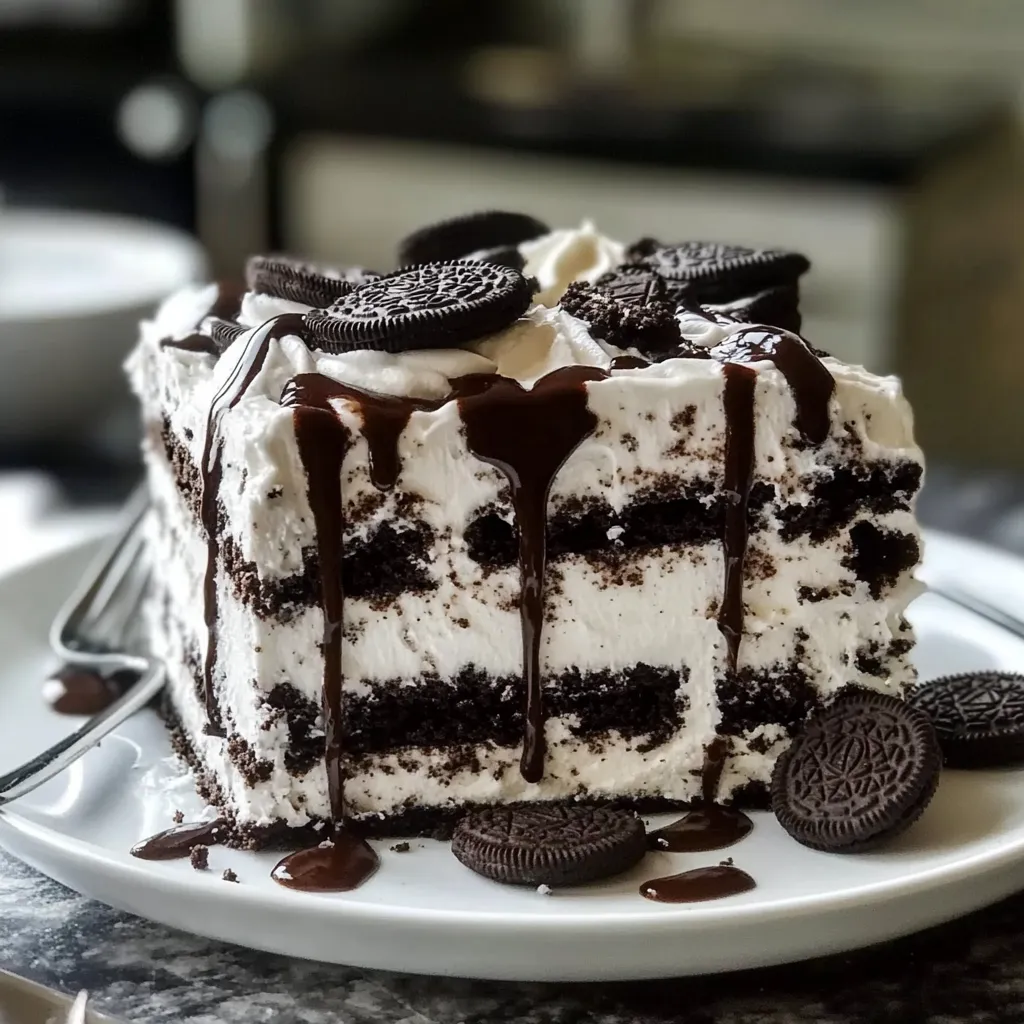
Conclusion
And there you have it! Your very own luscious Oreo Icebox Cake, ready to impress and satisfy. I can’t wait for you to try this recipe, whether it’s for a casual family gathering or a special occasion. As always, please feel free to drop a comment below letting me know how your cake turned out, or if you have any fun variations! I love hearing from you and sharing in your delicious adventures. Happy baking (or should I say, chilling)!
Leave a Comment