
Oh, where do I even start with these little bits of heaven? The first time I ever tried crème brûlée, I was sitting in a quaint little café, sipping on something warm and dreamy, and there it was—an elegant little dish with that beautiful burnt sugar crust just begging to be cracked open. The moment I did, I was greeted by this rich, velvety custard that melted in my mouth like a sweet dream.
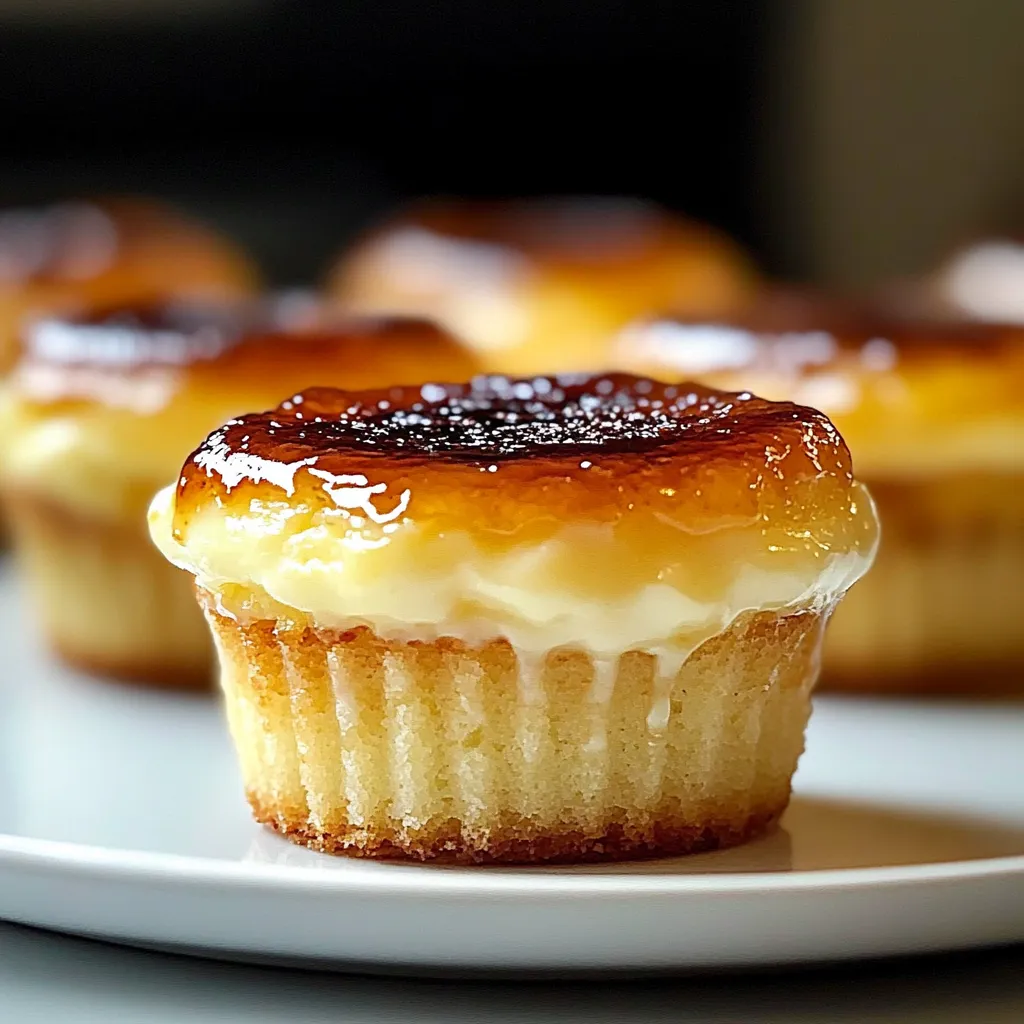
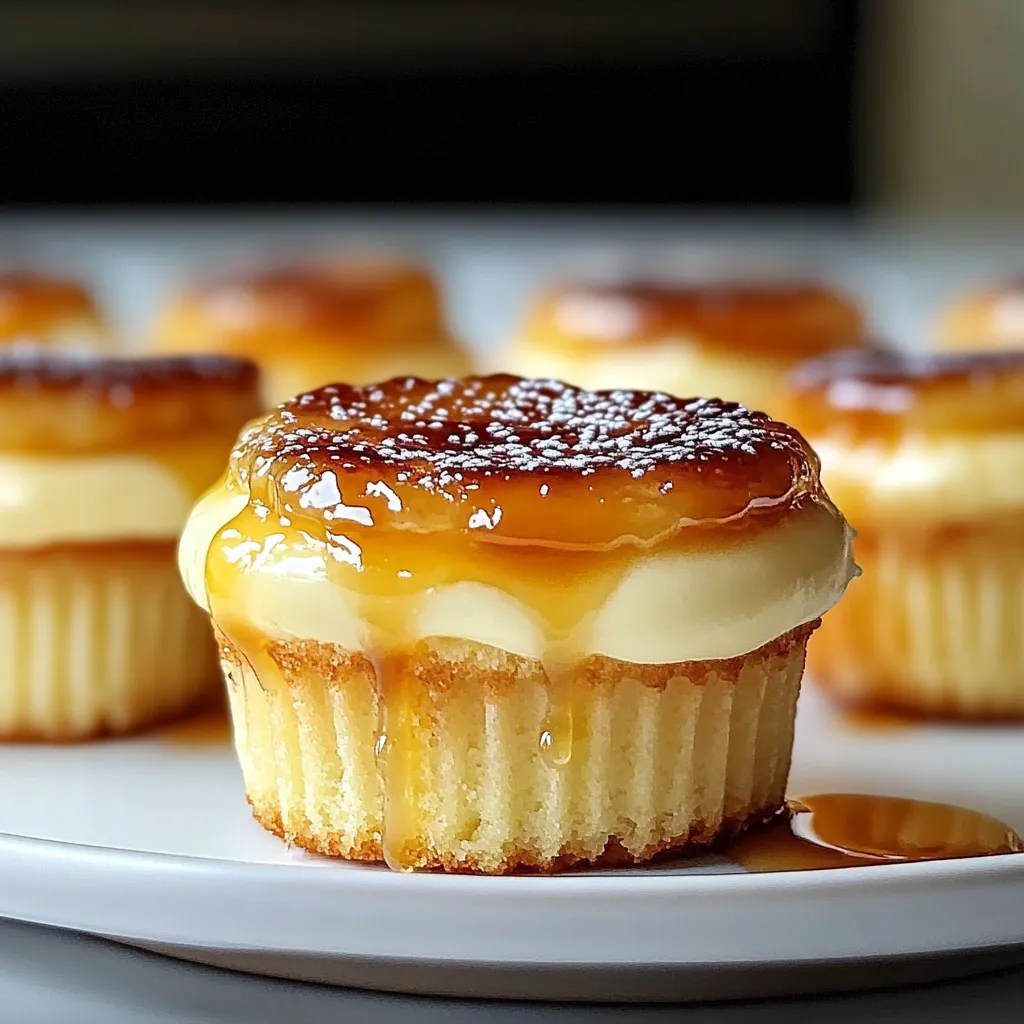
Fast forward to today, and I’m not just enjoying crème brûlée; I’m combining that joy with my eternal love for cheesecake. Cue the Vanilla Bean Crème Brûlée Cheesecake Cupcakes. These delightful little treats have all the creaminess and decadence of cheesecake, paired with the luxurious flavors of vanilla bean—topped with that iconic crunchy top. I can’t wait to share this recipe with you!
Why You’ll Love This Recipe
- 🏠 Easy to make: Perfect for baking newbies and seasoned pros!
- 💖 Personal touch: It’s a crowd-pleaser that elevates any gathering.
- 🍰 Luxurious yet delightful: Each bite feels like a special occasion.
- ✨ Customizable: Tweak the flavors to fit any palate!
Ingredients
Here’s everything you’ll need to create your own little cheesecake wonders:
- For the Cupcake Base:
- 1 cup all-purpose flour
- 1/2 cup granulated sugar
- 1/4 cup unsweetened cocoa powder (yes, it’s a chocolate cupcake base!)
- 1/2 teaspoon baking powder
- 1/4 teaspoon baking soda
- 1/4 teaspoon salt
- 1/2 cup unsalted butter, melted
- 2 large eggs
- 1 teaspoon vanilla extract
- For the Cheesecake Filling:
- 8 oz cream cheese, softened
- 1/2 cup granulated sugar
- 2 large eggs
- 1 teaspoon vanilla bean paste (or extract)
- 1 tablespoon all-purpose flour
- 1/4 cup heavy cream
- For the Crème Brûlée Topping:
- 1/4 cup granulated sugar (for topping)
- 1 tablespoon torchable sugar (optional, for that perfect crunch)
Notes:
- Fresh vanilla bean paste gives you those lovely little specks—so worth it!
- Don’t skip the torchable sugar if you want that extra crunchy finish.
Step-by-Step Instructions
Let’s dive into the creamy magic of making these cupcakes!
- Preheat the Oven: Start by preheating your oven to 350°F (175°C). Don’t forget to line your cupcake pan with liners—this is where all the magic will happen!
- Make the Cupcake Batter: In a large mixing bowl, whisk together the flour, sugar, cocoa powder, baking powder, baking soda, and salt. In another bowl, mix the melted butter, eggs, and vanilla extract until combined. Combine both mixtures until just blended. Pro tip: Do not overmix or you’ll end up with dense cupcakes!
- Fill the Liners: Scoop the cupcake batter into the prepared cupcake liners, filling them about 2/3 full. This allows some room for rising. Bake them in the preheated oven for about 15-18 minutes. They are done when a toothpick inserted in the center comes out clean!
- Cool It Down: Let the cupcakes cool in the pan for about 5 minutes, then carefully transfer them to a wire rack to cool completely. Trust me, you’ll want these little beauties cool before adding the cheesecake filling.
- Prepare the Cheesecake Filling: While the cupcakes cool, beat the softened cream cheese and granulated sugar in a medium bowl until smooth. Beat in the eggs, vanilla bean paste, and flour, followed by the heavy cream. This should be a smooth, velvety mixture. Watch out: Scratch down the sides of the bowl to ensure even mixing!
- Fill with Cheesecake: Using a piping bag or a spoon, fill each cooled cupcake about halfway with the cheesecake mixture. Extra tip: If you want a more decadent treat, fill them all the way to the top!
- Bake the Cheesecake: Pop these back into the oven and bake for about 15-20 minutes, or until the cheesecake is set and lightly golden. Let them cool again on a wire rack.
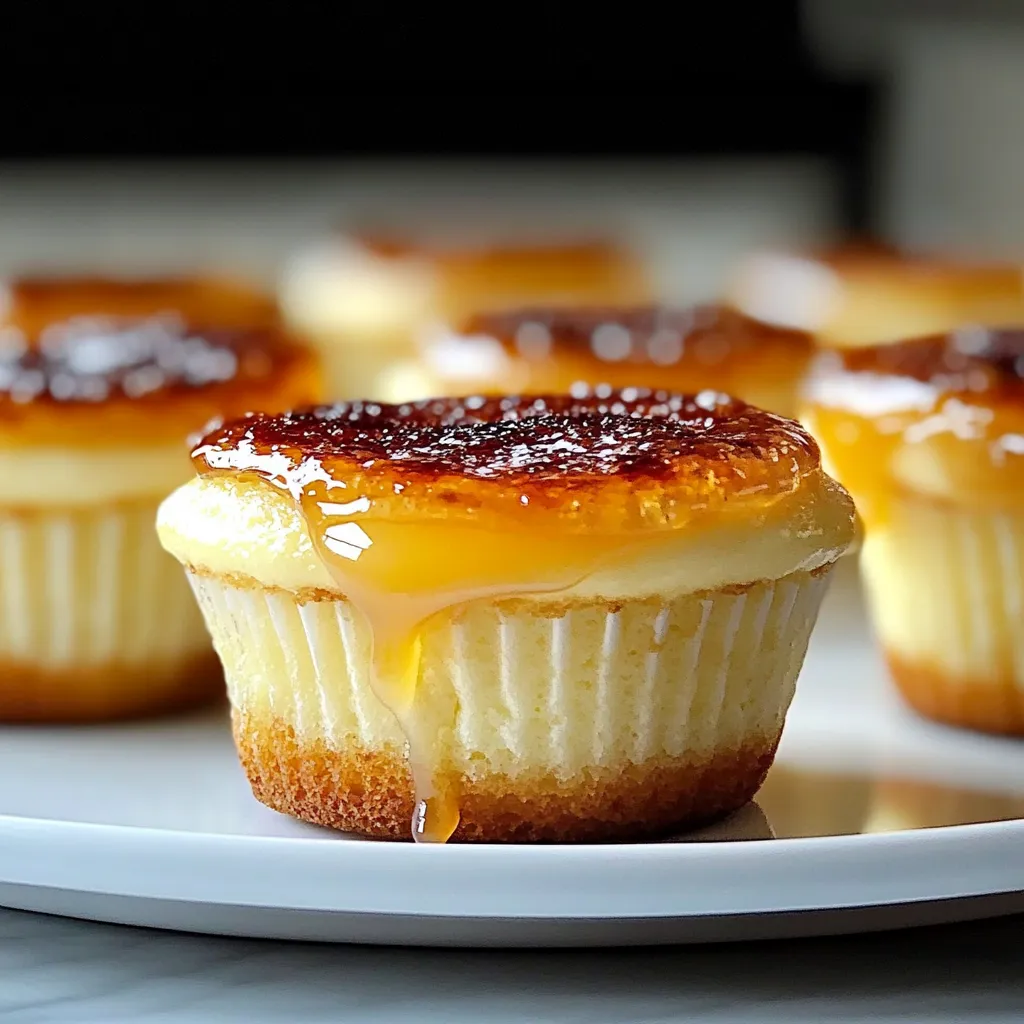
- Brûlée the Tops: Once the cupcakes are completely cool, sprinkle a thin layer of granulated sugar over the tops. Use a culinary torch carefully to caramelize the sugar until it turns golden and crispy. (If you don’t have a torch, place them under the broiler for a few minutes—just keep an eye on them!) The sugar should crack when you tap it. Sweet success!
Pro Tips & Variations
Now that you’ve mastered the basics, let’s have some fun with this recipe:
- Flavor Twists: Add a splash of orange zest or a drizzle of espresso to the cheesecake filling for an exciting flavor combo!
- Diet Swaps: You can use gluten-free flour if you want to make these gluten-free. Coconut cream can replace heavy cream for a dairy-free version.
- Fun Toppings: Why not top with fresh berries or a dollop of whipped cream for a super fun presentation? Maybe a sprinkle of sea salt on the sugar crust for a sweet-savory twist?
Serving Suggestions
Picture this: a cozy evening with friends, maybe a movie playing softly in the background. You pull out a tray of these delightful Vanilla Bean Crème Brûlée Cheesecake Cupcakes—you’ll definitely be the hero of the night! They pair beautifully with a cup of coffee or a chilled glass of dessert wine. You can even sprinkle a few edible flowers on top for a gorgeous presentation. Let’s just say, they not only taste incredible but look fabulous!
Storage Tips
Now, if by some miracle there are leftovers (though I wouldn’t count on it!), you can store these lovelies in an airtight container in the fridge for up to 4 days. Just know that the sugar topping might lose its crunch after a day or two, so keep that in mind. If you’d like to freeze them, wrap them in plastic wrap and store in a freezer-safe container for up to a month. When you’re ready to enjoy, just let them thaw in the fridge overnight, and then re-crème brûlée the tops right before serving!
FAQs
Can I make these cupcakes in advance?
Absolutely! You can bake the cupcake base and the cheesecake filling a day in advance. Just store them covered in the fridge, and brûlée the tops right before serving for that fresh finish!
What if I don’t have a kitchen torch?
No worries! You can pop them under the broiler for a minute or two, but make sure you keep a watchful eye. It can go from perfect to burnt in a flash!
Are there any dairy-free alternatives?
Yes! You can use dairy-free cream cheese and coconut cream as substitutes to make these cupcakes dairy-free. They’ll still be delightful!
How do I know when the cheesecake filling is done?
The filling should be slightly puffed and set in the middle. If you gently shake the pan, it should jiggle just a little, but not look liquidy. It’s all about that perfect creamy texture!
Can I skip the cocoa powder in the cupcake base?
Of course! You can either replace it with more flour for a plain vanilla cupcake base or leave it out entirely for a delicious, basic vanilla cupcake. Your taste buds, your rules!
Conclusion
There you have it, folks! Your detailed guide to making the most delightful Vanilla Bean Crème Brûlée Cheesecake Cupcakes. I hope you can feel the enthusiasm and warmth that goes into each cupcake! If you try this recipe, please do share your thoughts in the comments; I adore hearing about your baking adventures. Until next time, happy baking, and make every bite a celebration!

Leave a Comment